The most fun part of making dice, in my opinion, is mixing and pouring the resin. It only takes about 10 minutes, so the joy is a little short lived. A very close second favorite part is taking the dice out of their molds (see Part 1 for sprue molds, or this post on cap molds) and seeing your sparkly math click-clacks.
There are a lot of options you can choose from when making dice, but let’s start with the resin itself. Being a barely intermediate dice maker, I’ve only worked with 1 kind of resin: epoxy. There’s also UV resin, which cures under a UV light (great for doing layers and multi-tone dice), and probably some others that we have not yet looked into. We went with 2 part epoxy resin simply because it was recommended by Rybonator, who was our first tutor into our dice making foray.
Resin
We’ve been using Art ‘N Glow epoxy resin, which is a 1:1 mix (i.e. 1oz of resin, 1 oz of hardener usually gets us 8 dice and some left over). You get both bottles in a set, which are $45 on Amazon. With these sizes (16 oz) we can usually get 16 sets of dice per set. There are apparently also gallon versions of these, but I assume that’s more for making table tops or something other than small items like dice.

Side note: the bottle says it has a 40 minute work time. If you spend 5 full minutes mixing and use 3 pipettes to constantly suck up resin while pouring into dice (assuming you don’t warm up the resin first), you’ll *just* be able to get through 8 dice (we have an extra d20 in our sets) before it gets too stiff to work with. Technically, it’s still liquid for the full time, but it’s really hard to get from the cup to the mold in a pipette after about 10 minutes, so you’ll need to make sure you’re 100% ready to pour once you’re done mixing.
Work Space
This is our setup in the garage, desk and stools from Ikea. We keep the molds in a closed container because silicone is very attractive to dust and debris, and we want to avoid the uh-oh of finding hair etc. in your dice.
It’s right next to the door to the porch, and we can open the garage door if need be too — you’ll find by doing any kind of reading on working with resin that ventilation is HUGELY important, as is protection against the mixing fumes.

We also use the cabinet above our work station to store our glitter, pipettes, ink, and other accessories. The Vase of Shame is for failed dice. Failed dice are usually ones cast off molds that were defective, the cure was wonky (sticky, smooshy, and/or smelly), or the dice didn’t fill all the way in the molds (bubbles causing holes where resin should be). Once it’s full, I expect it’ll make its way to our dining room table as decoration.

Safety
We started making dice in January 2020, when Covid-19 hadn’t yet made the news in the U.S. as being an issue to worry about. As such, we purchased our respirators before the mad grab went for all good masks, and now the ones we bought on Amazon have been pulled (not just ‘out of stock’, flat out pulled). You need a mask and good ventilation to make dice, and this link explains the dangers of working with epoxy resin.


Inspiration
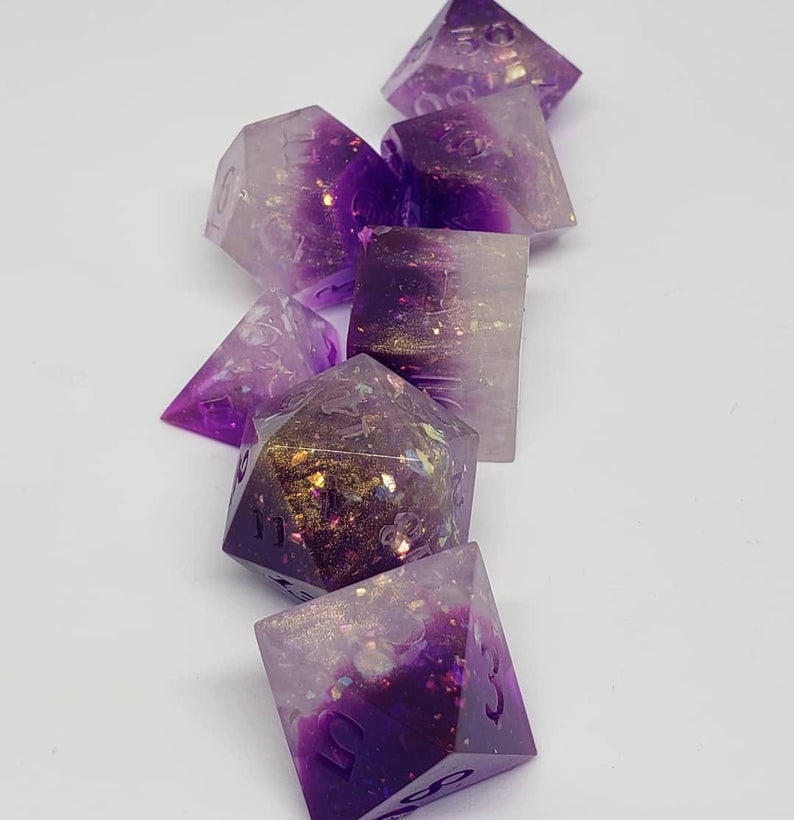
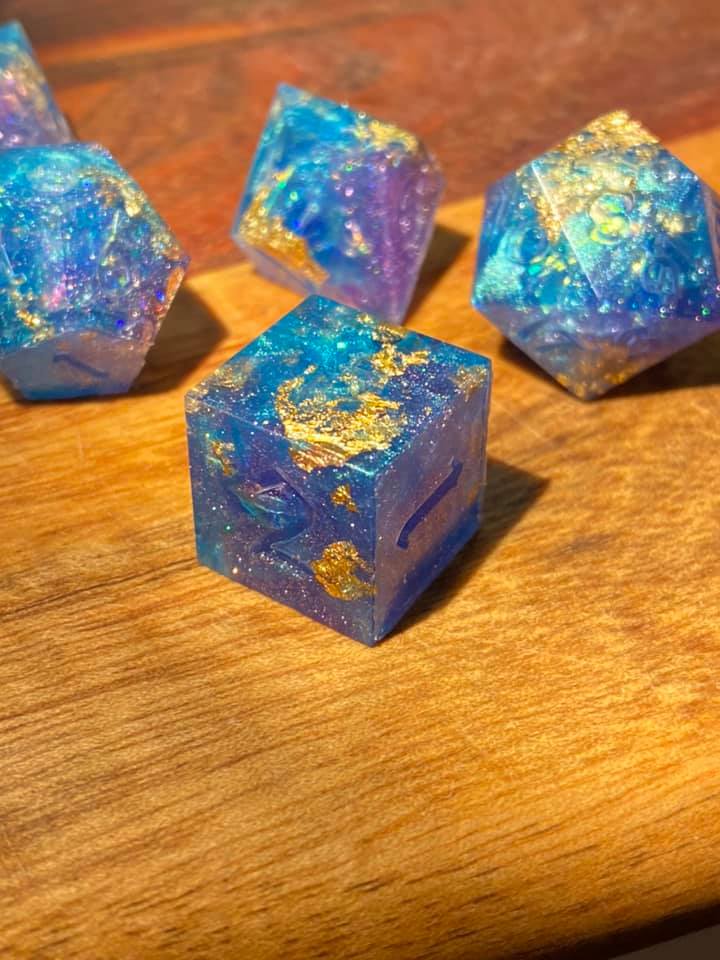
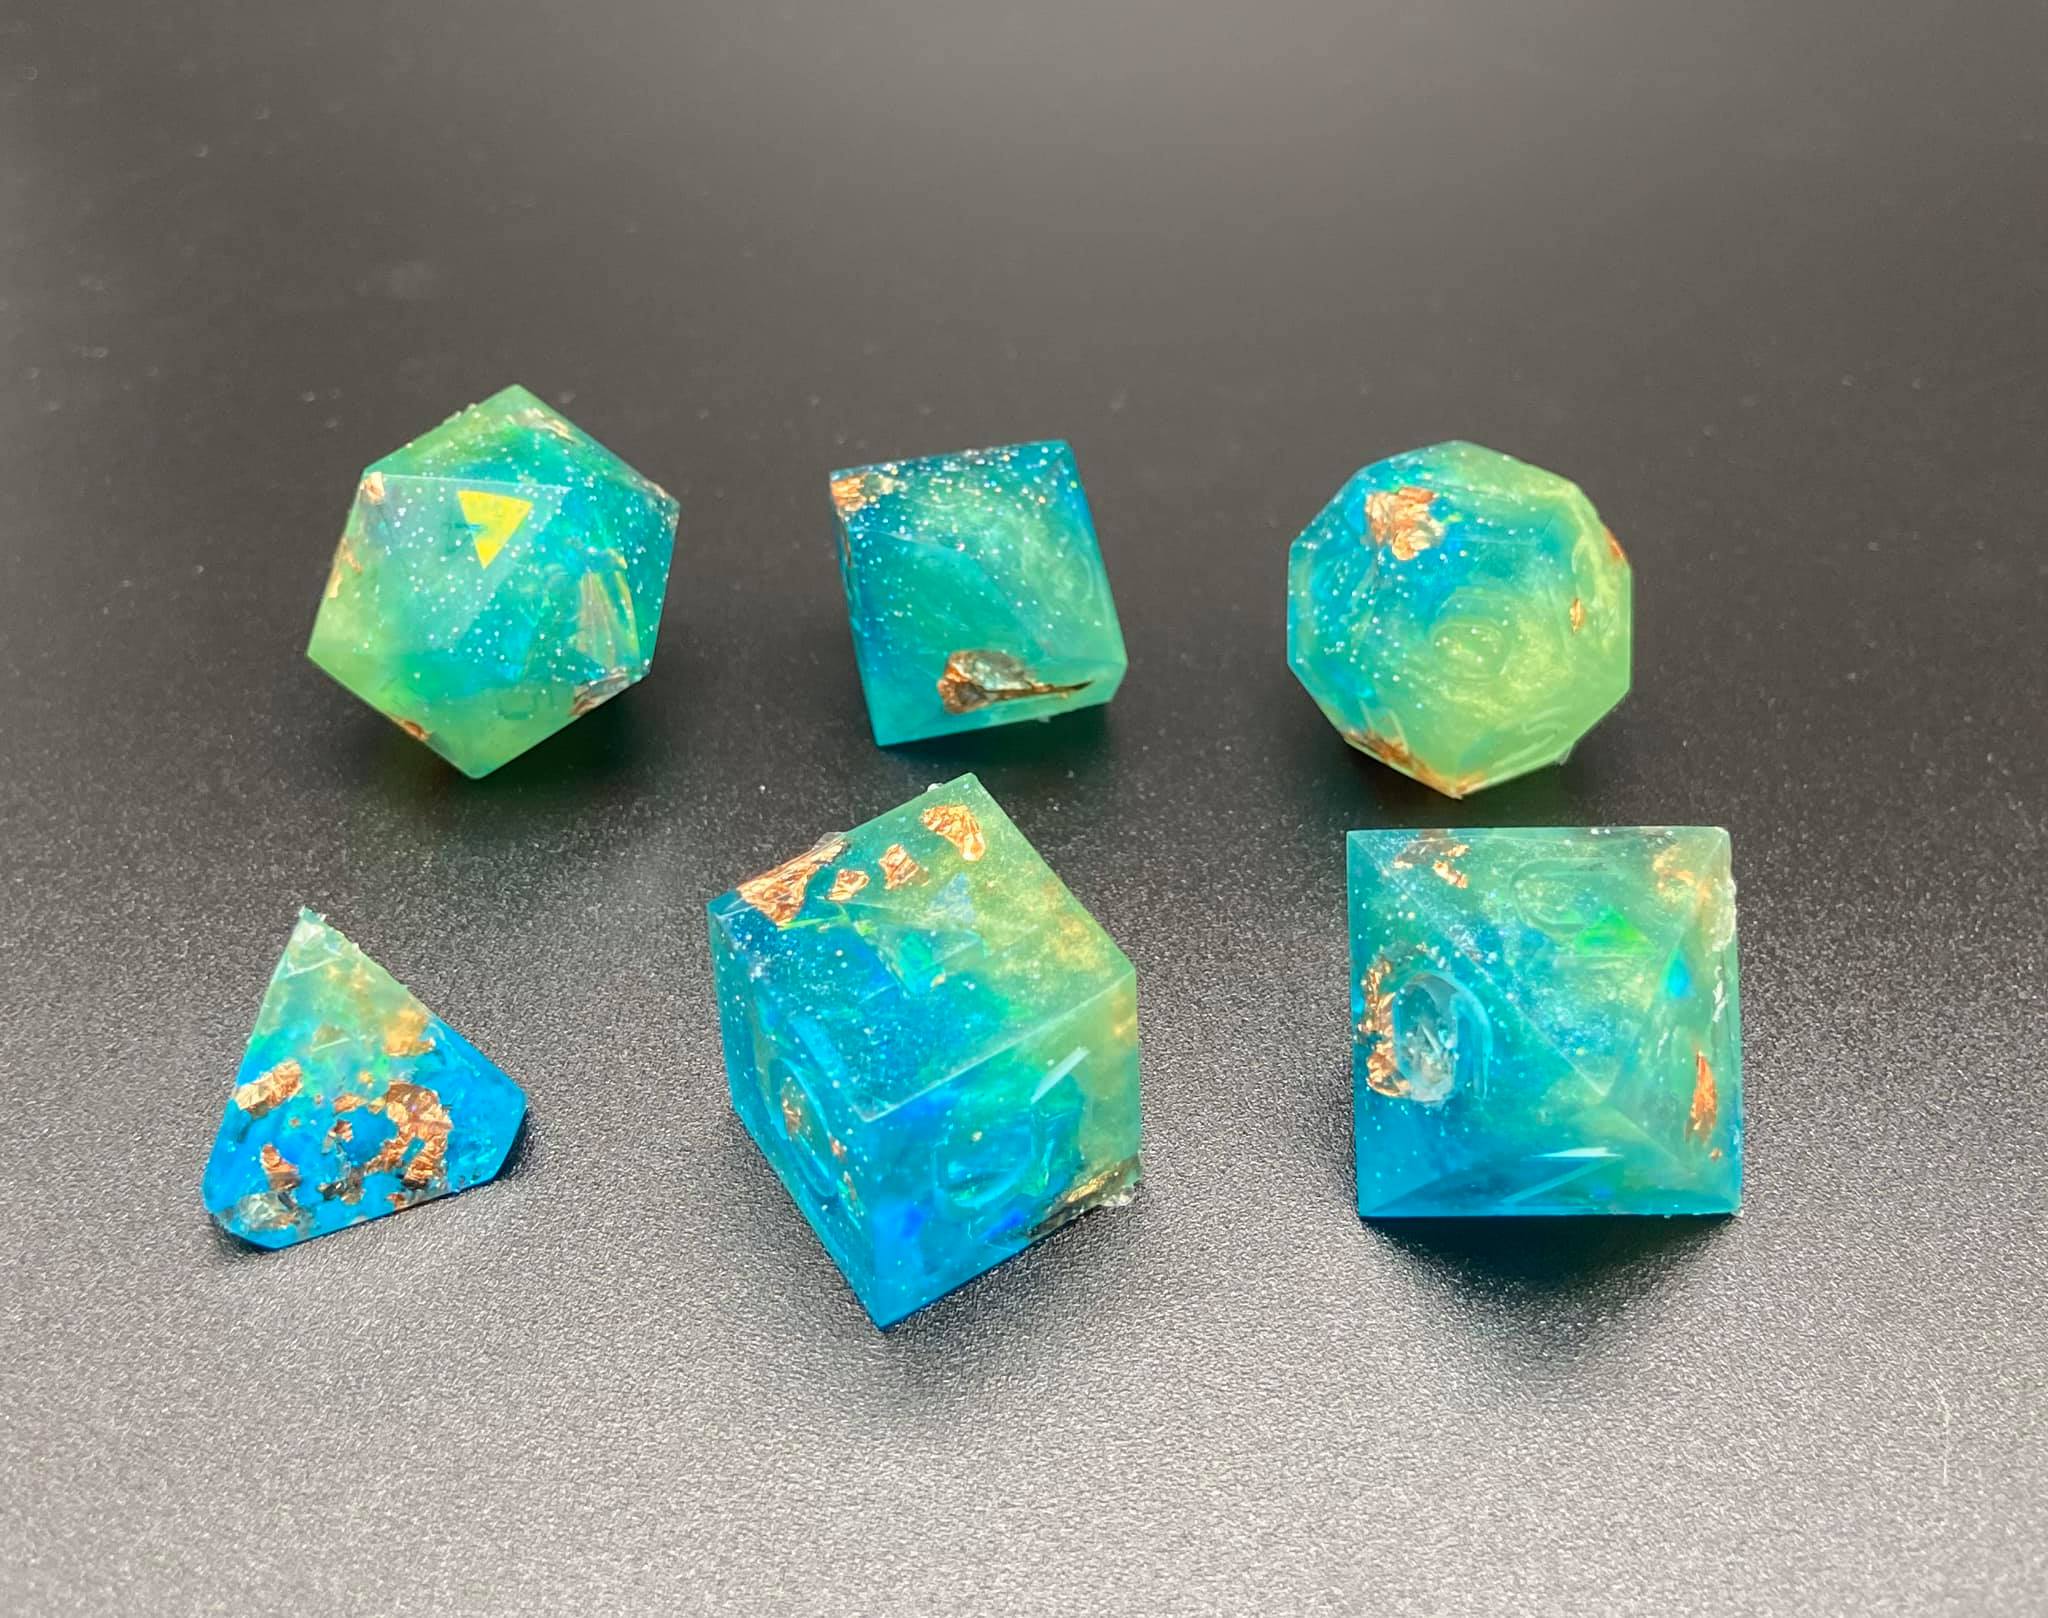
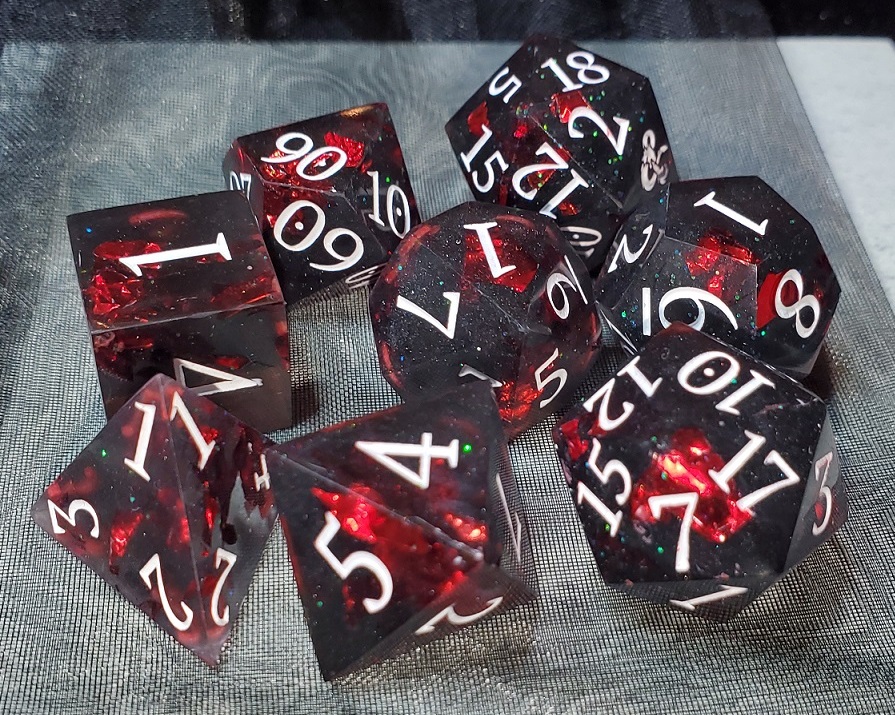
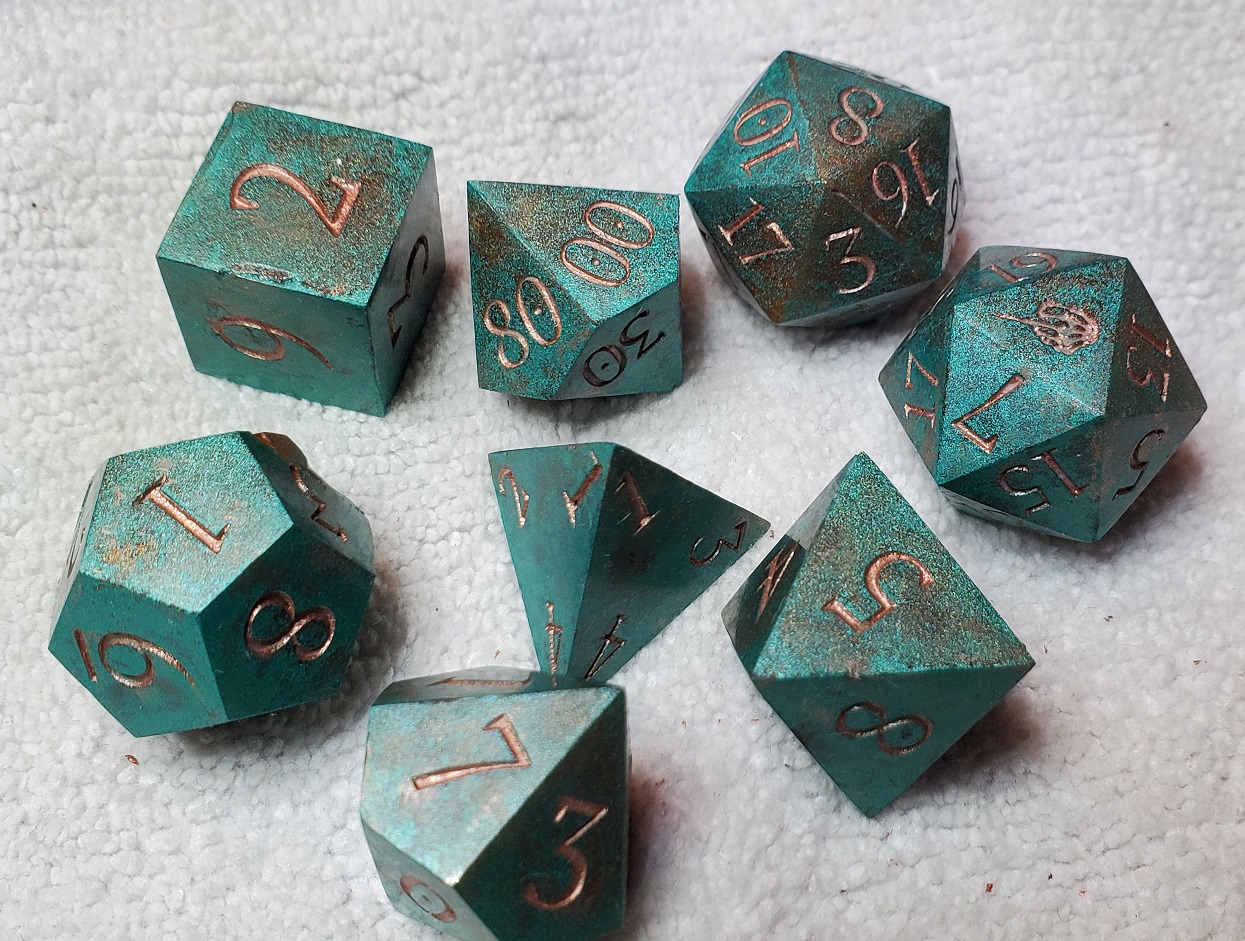
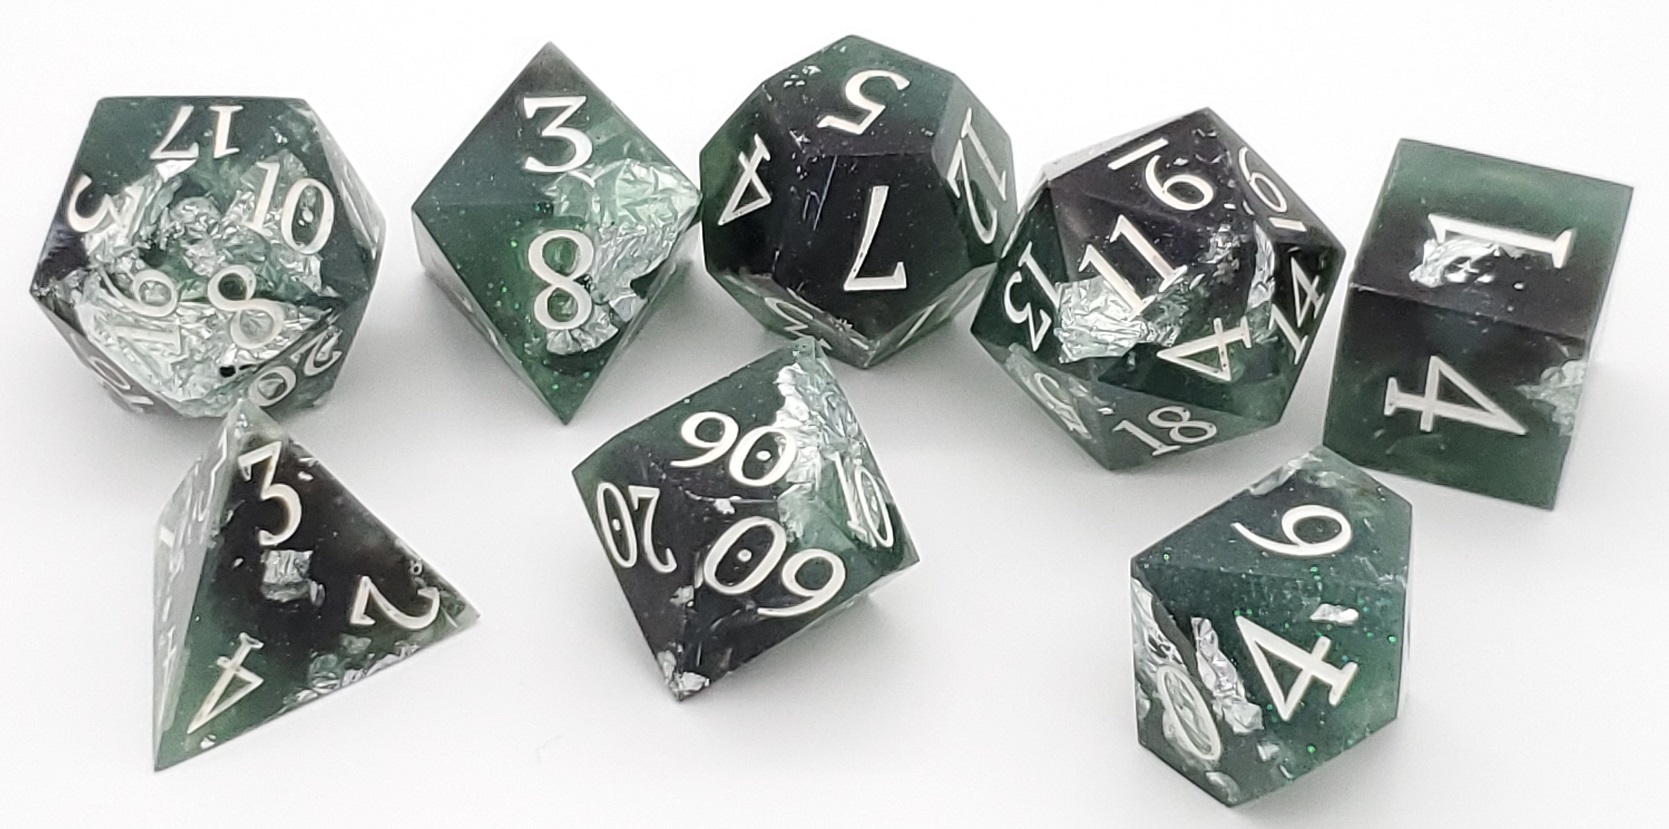
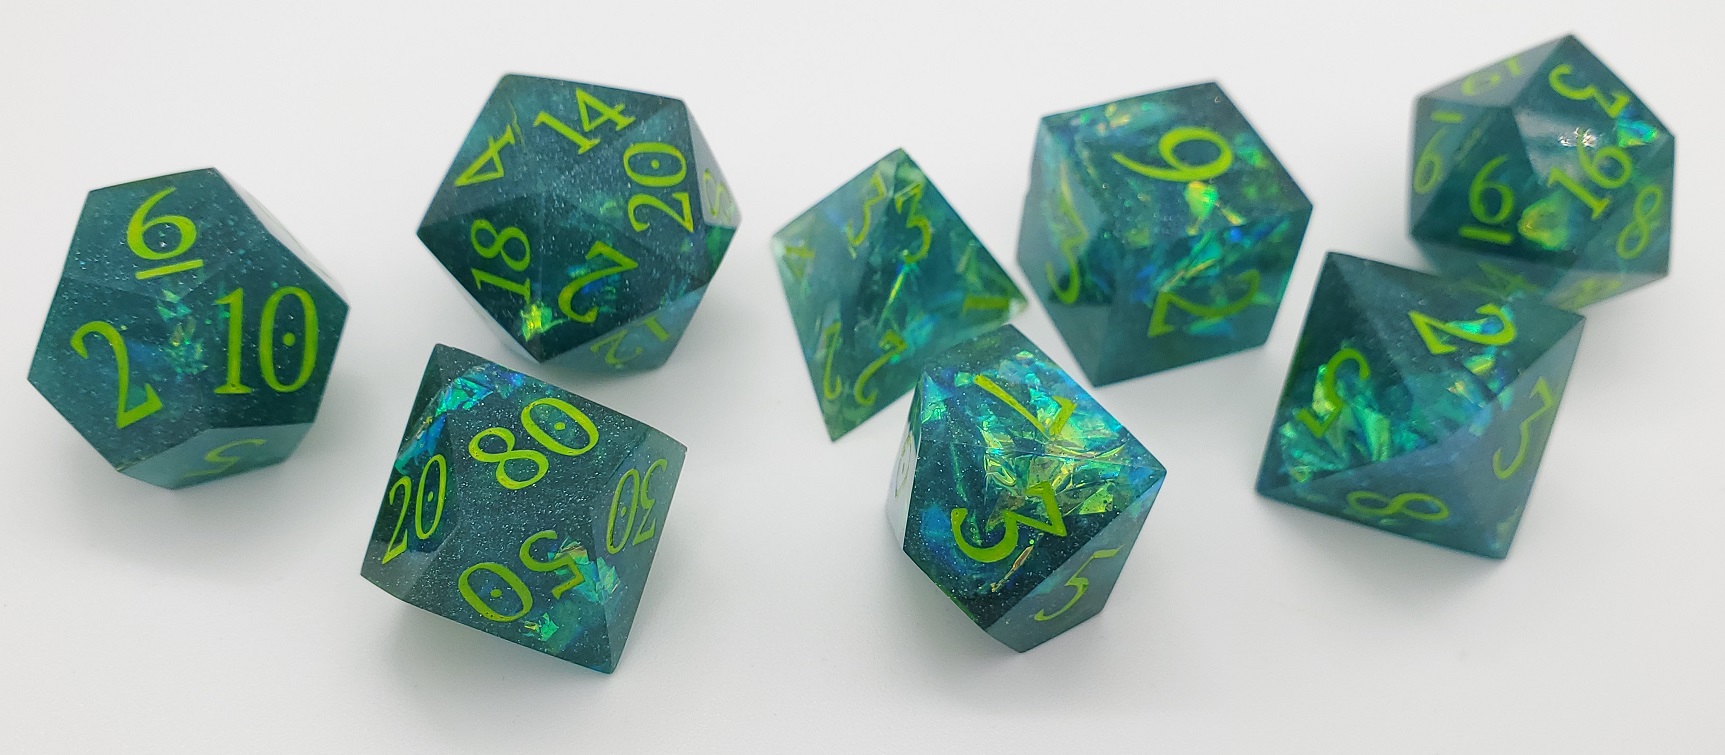
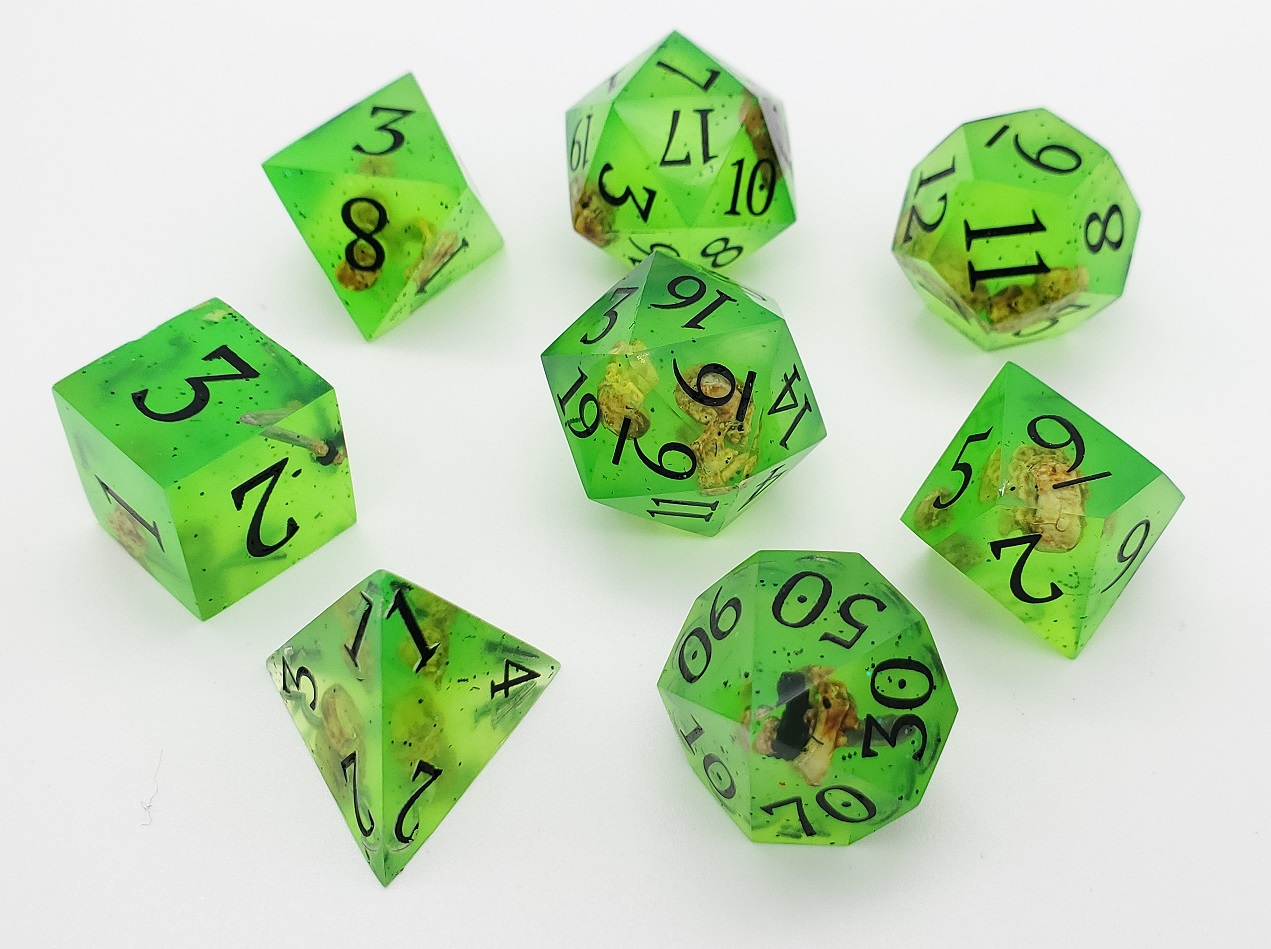
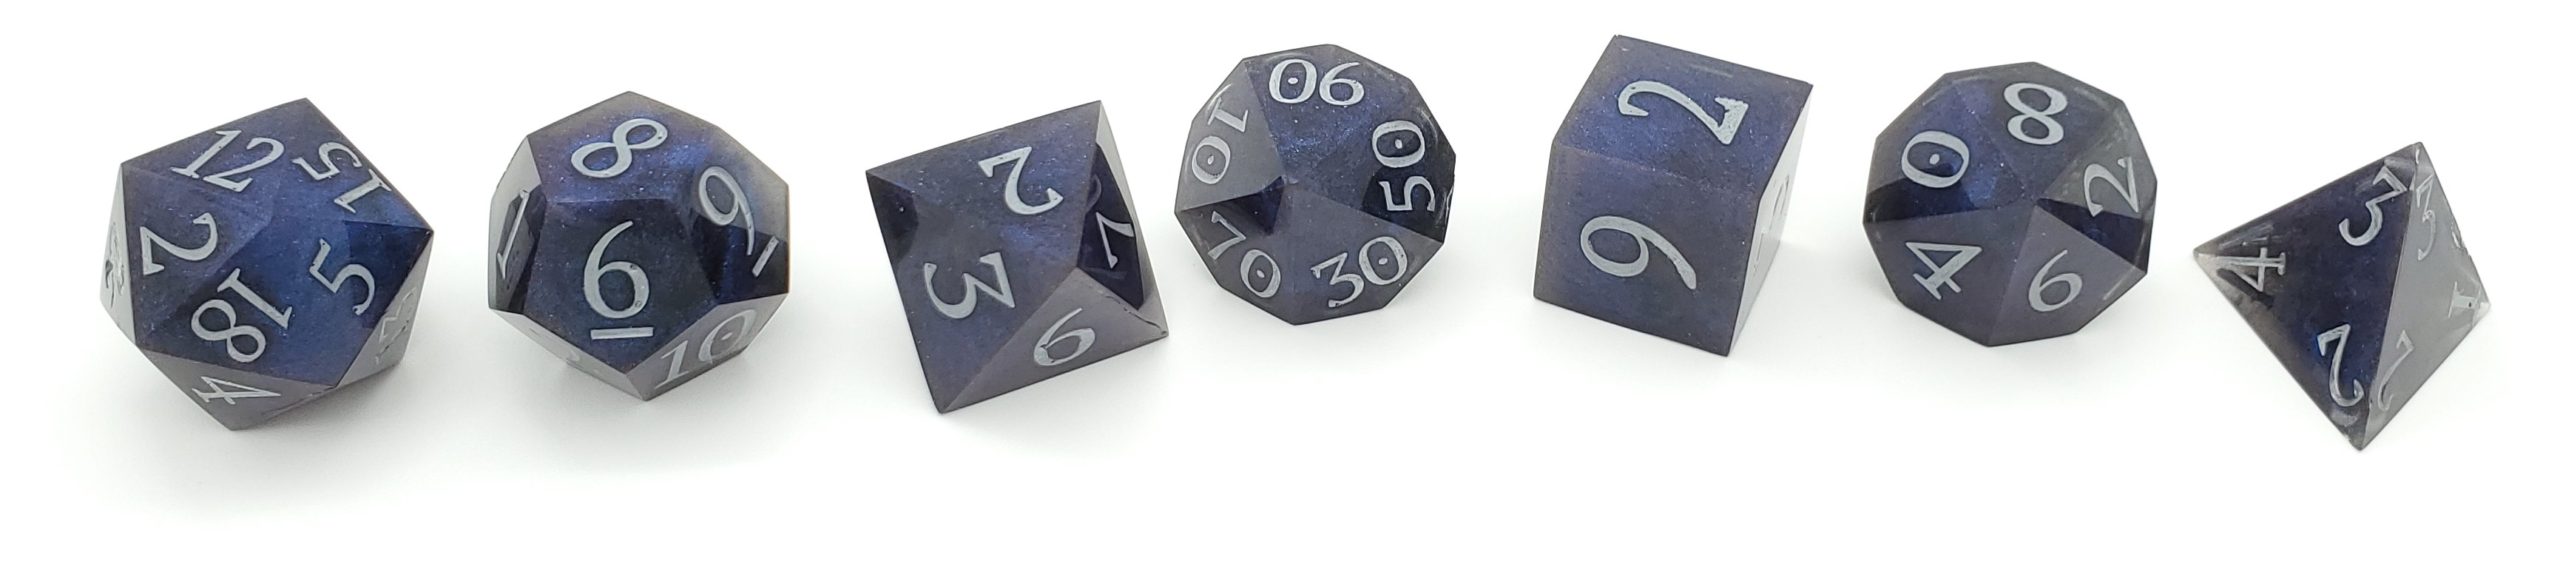
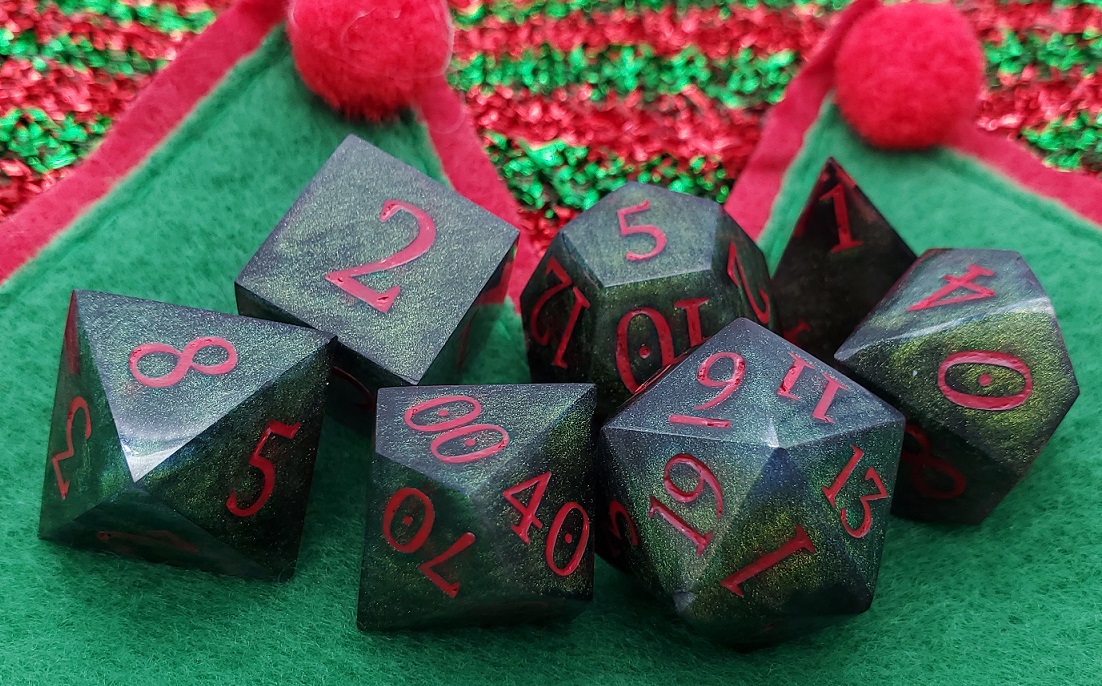
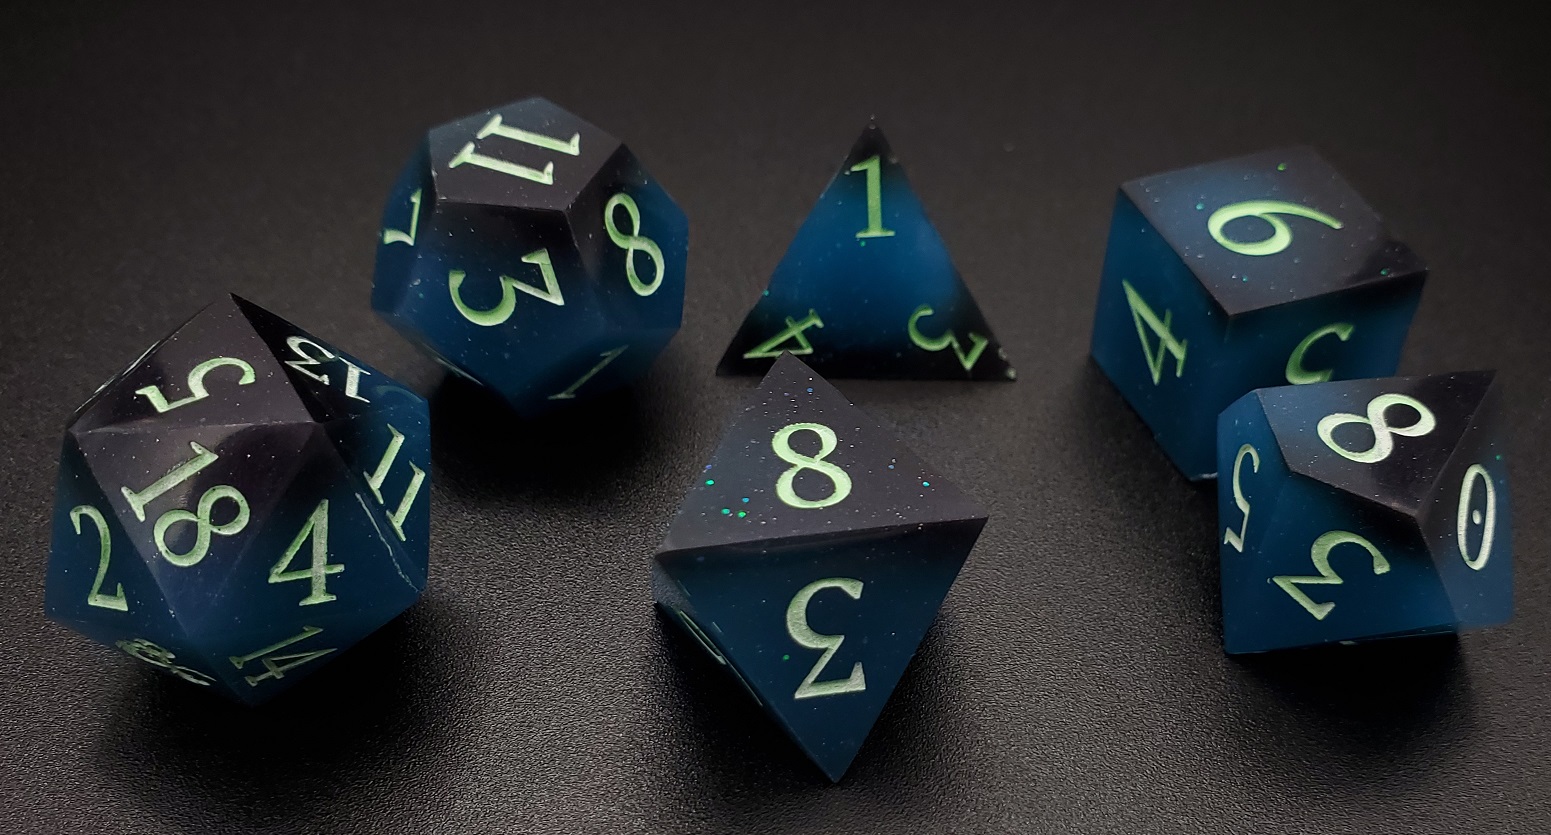
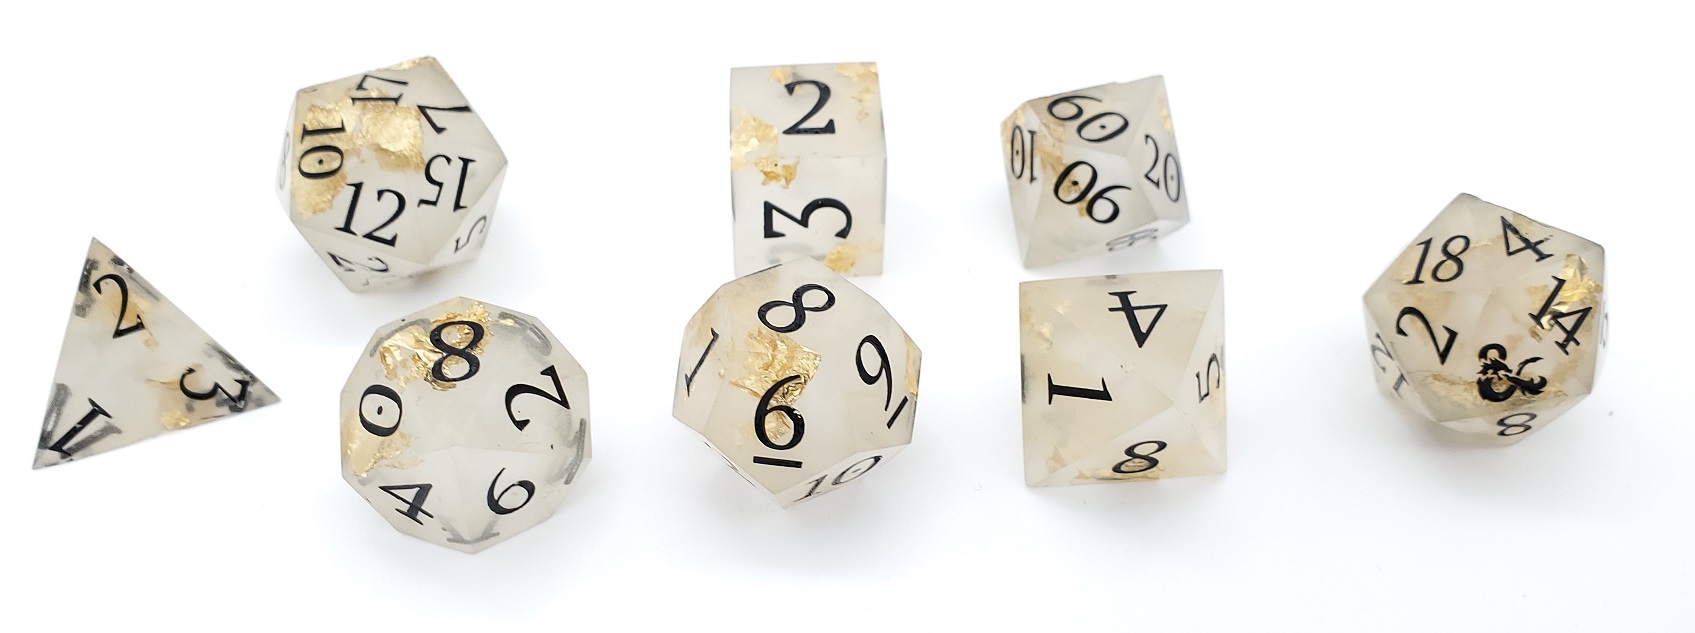
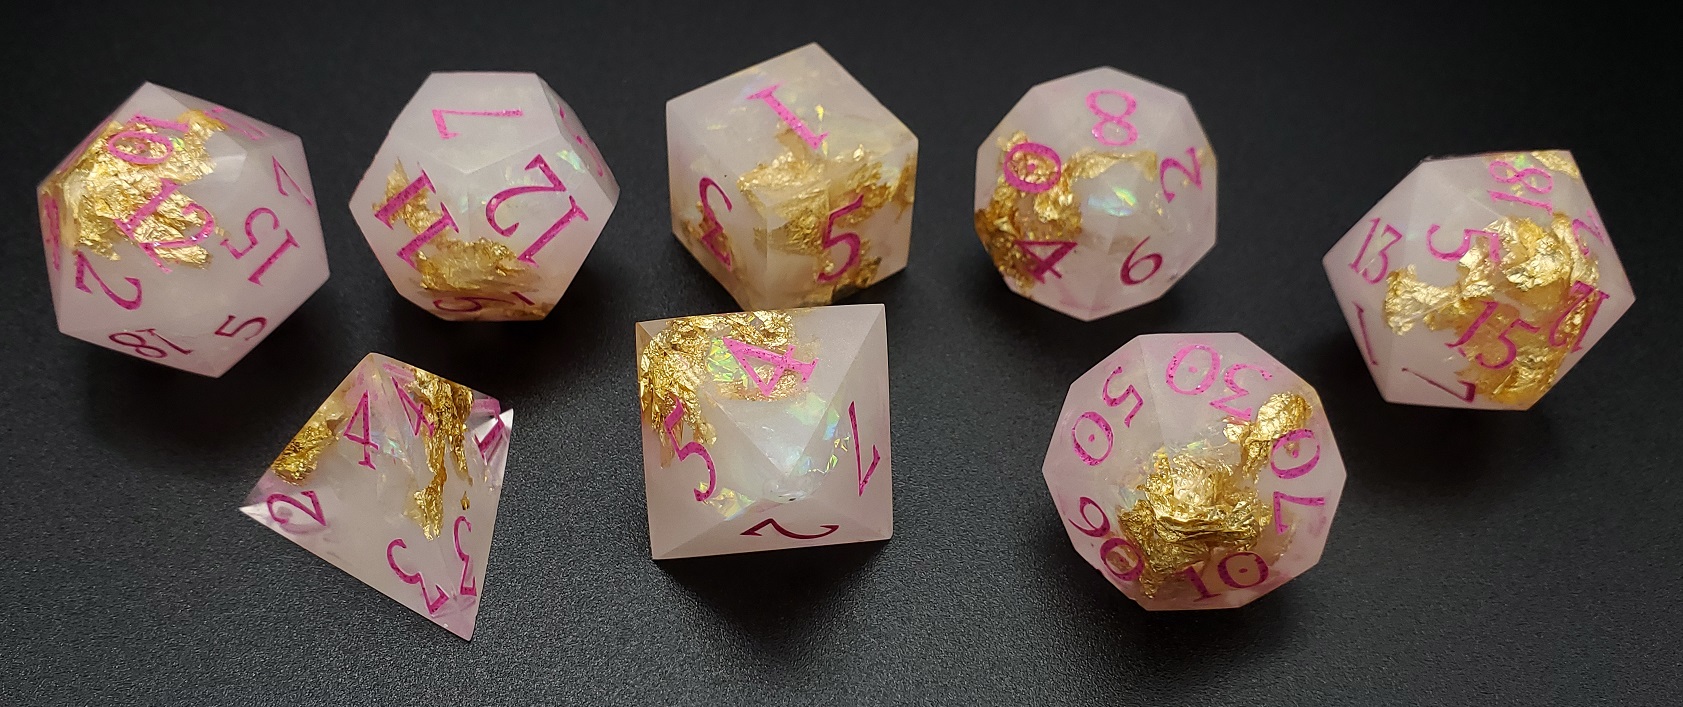
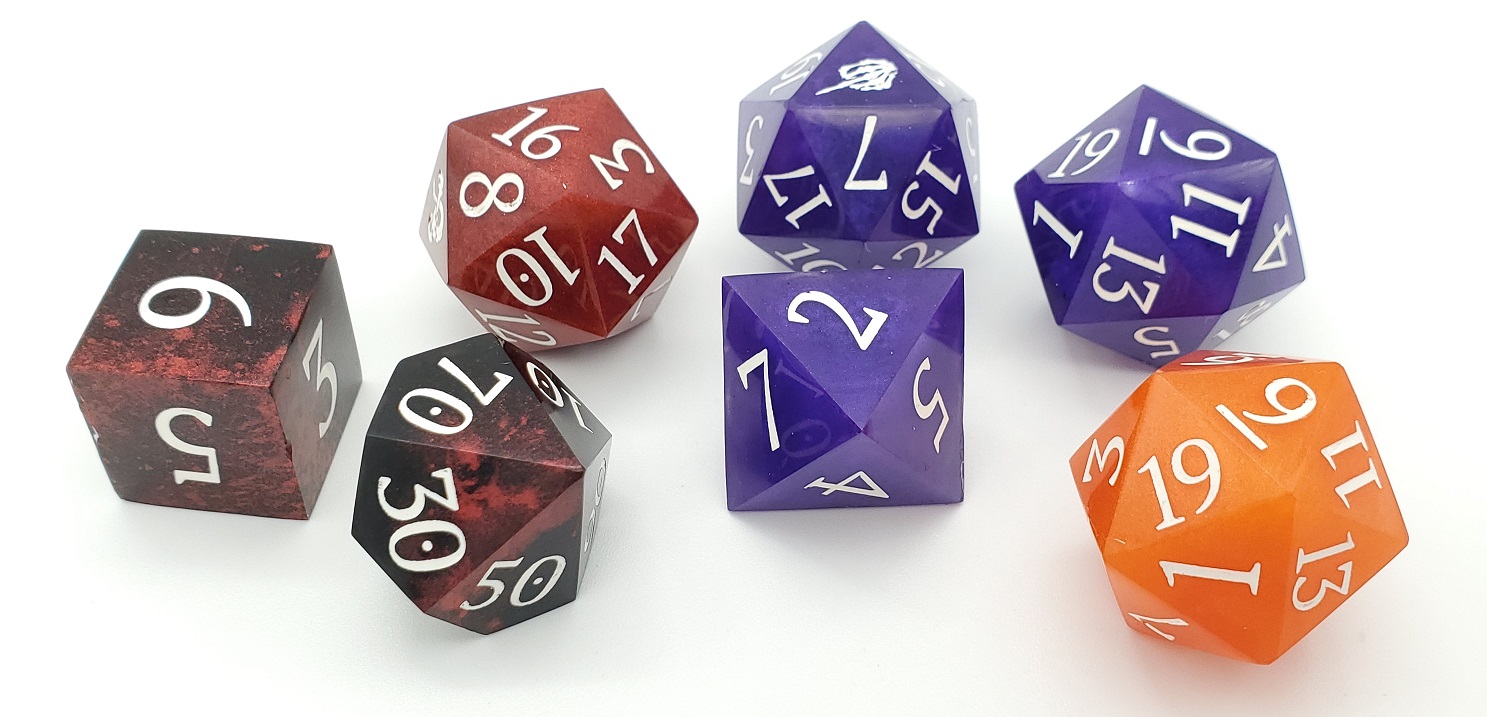
I get a lot of my inspiration from the Facebook group I’m in, as well as following professional dice makers on Twitter and Etsy. I save their pictures and review my inspiration folder when I want to make dice. Here are just a few examples of dice I’ve wanted to try and make:
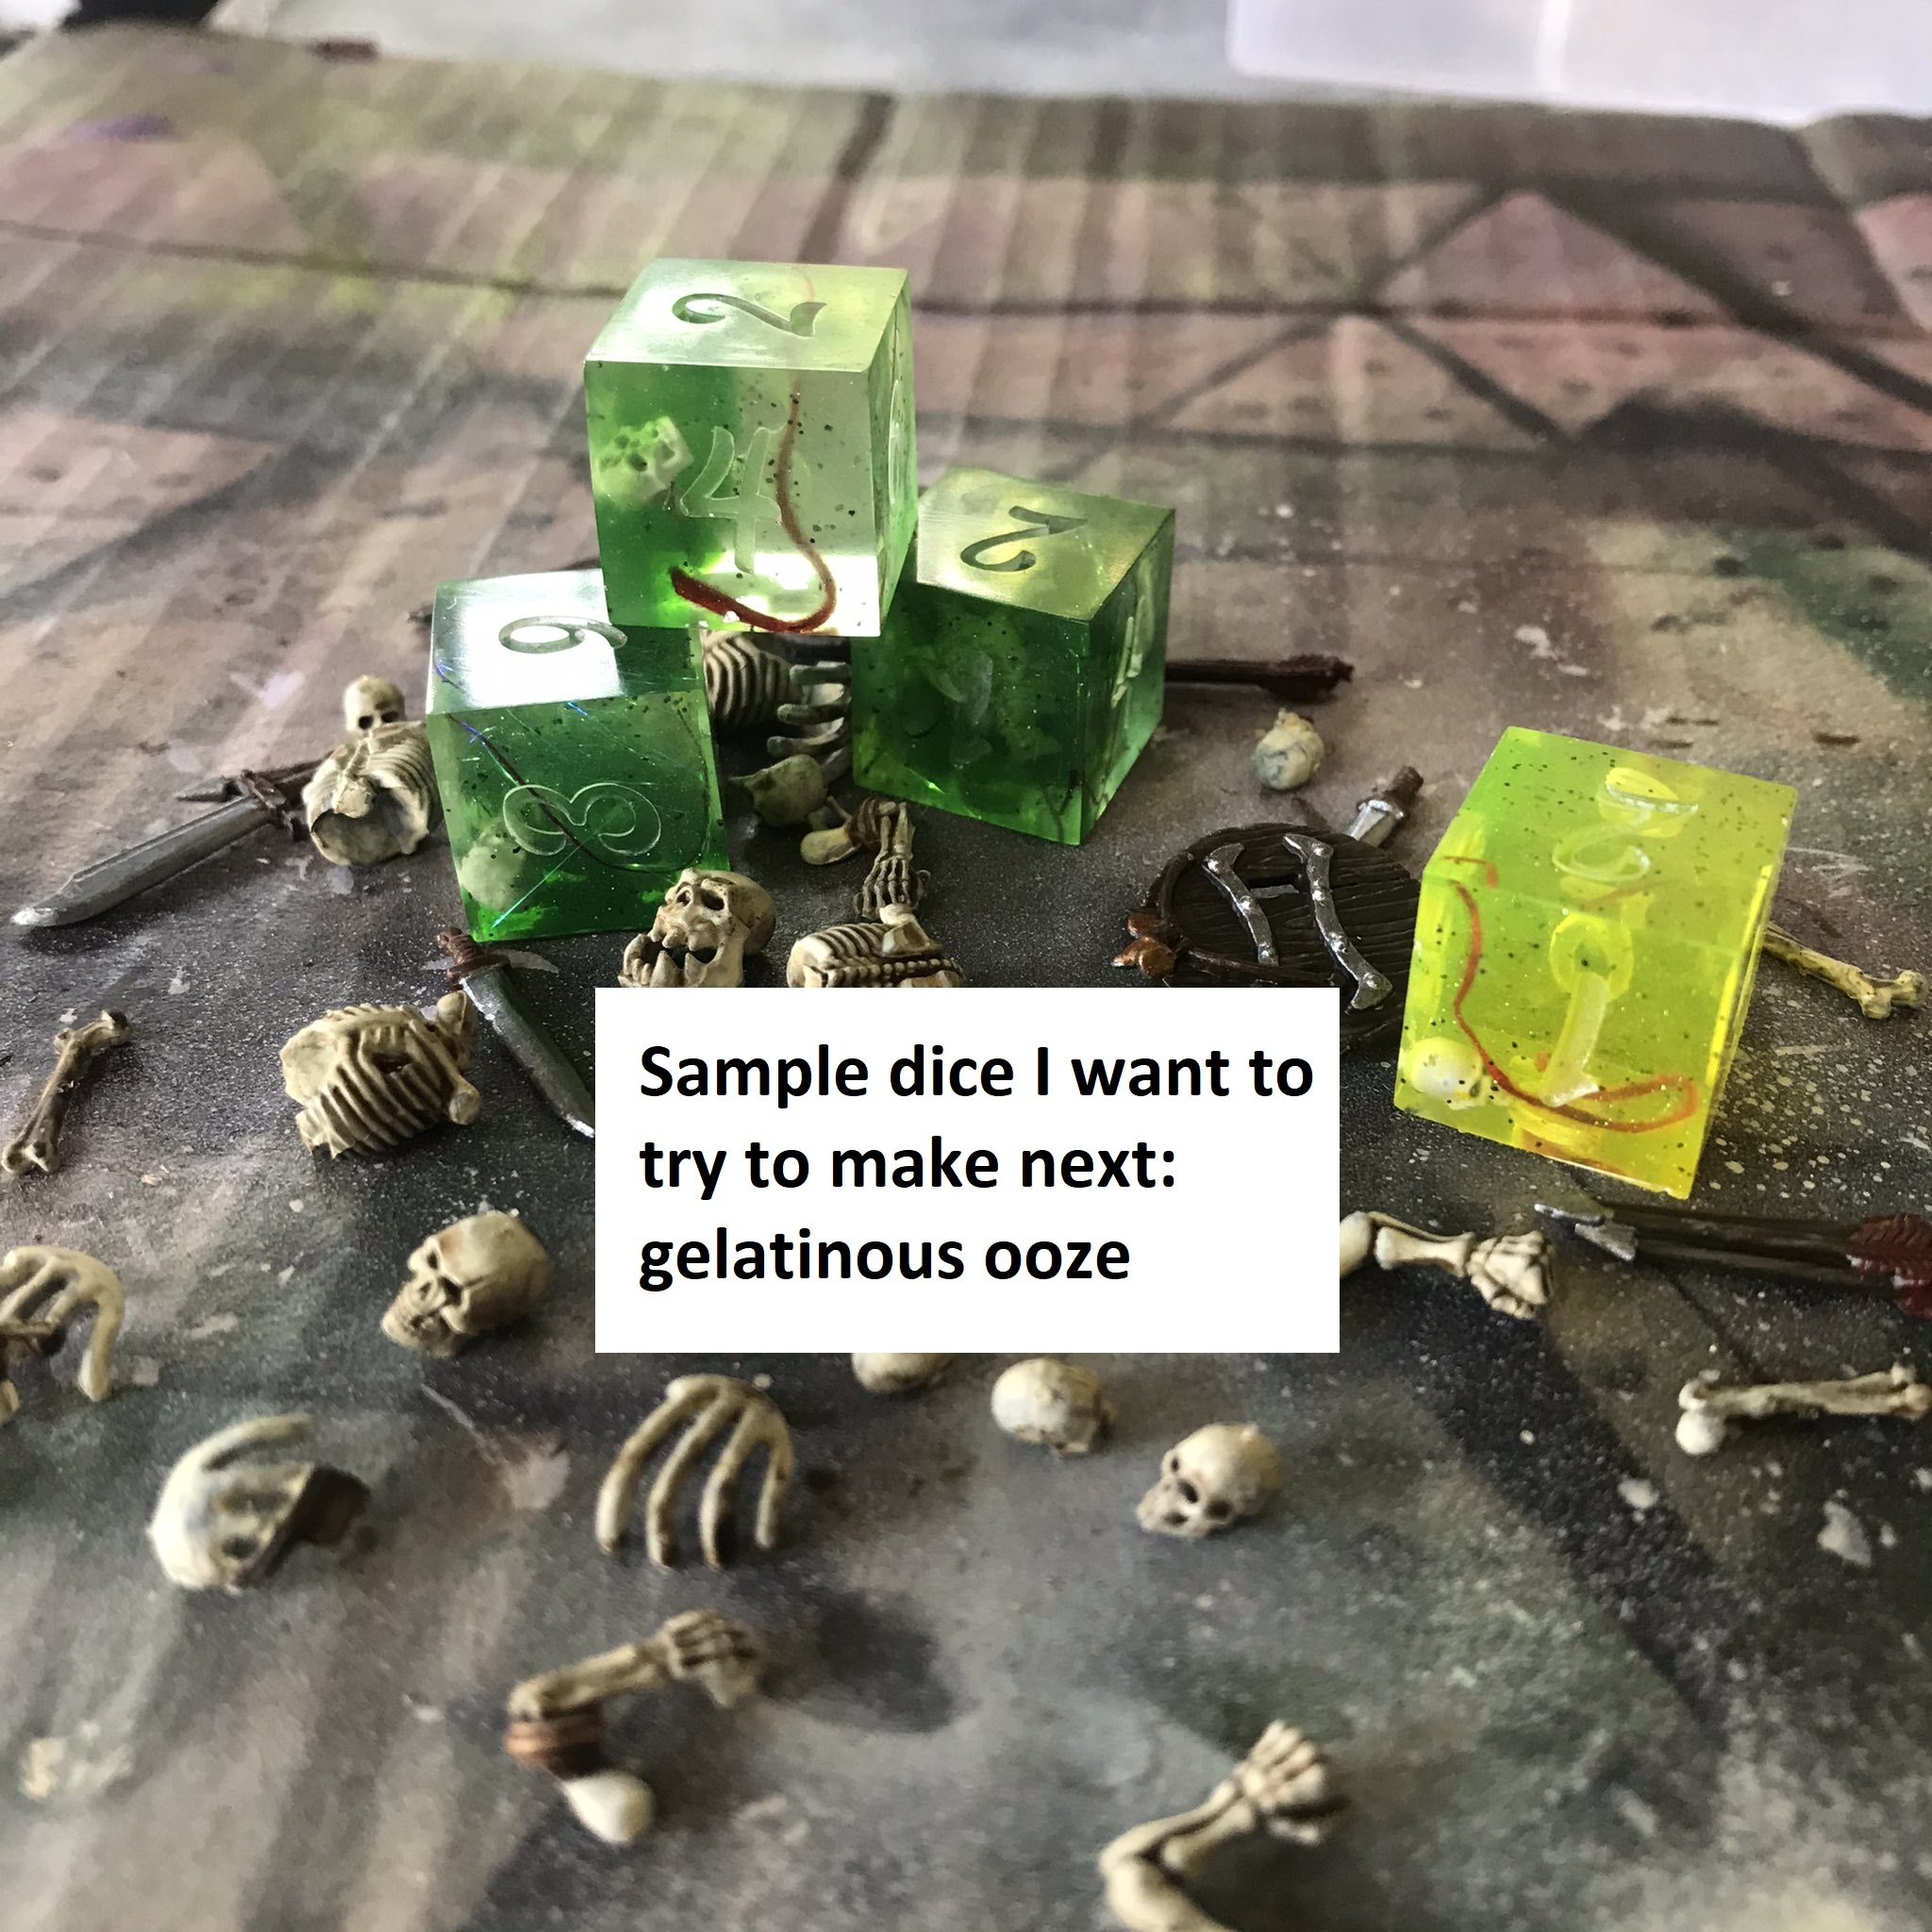
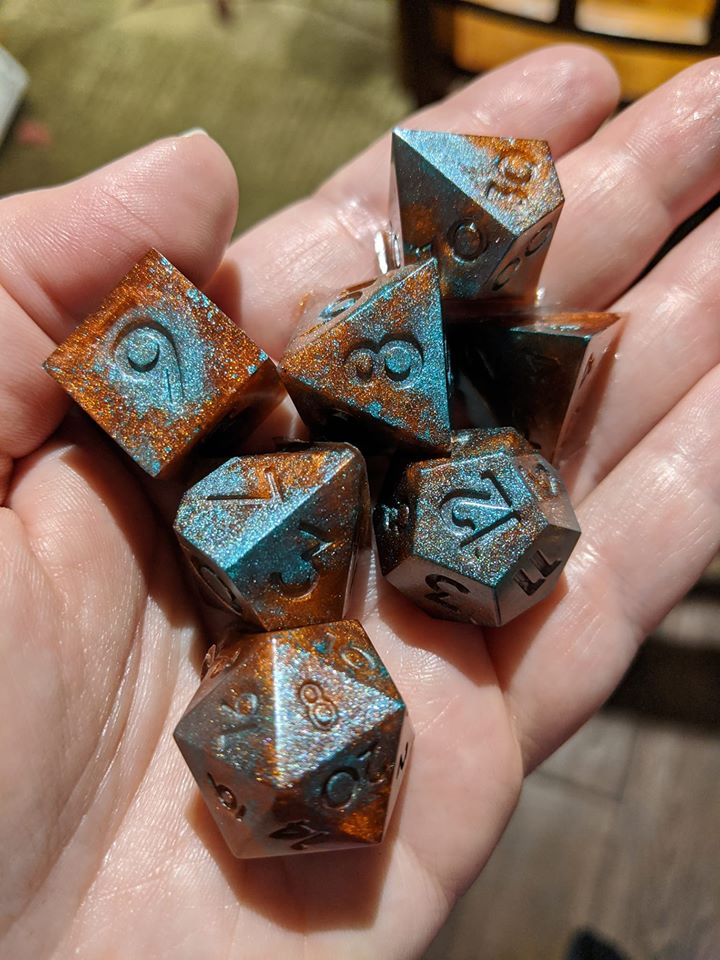
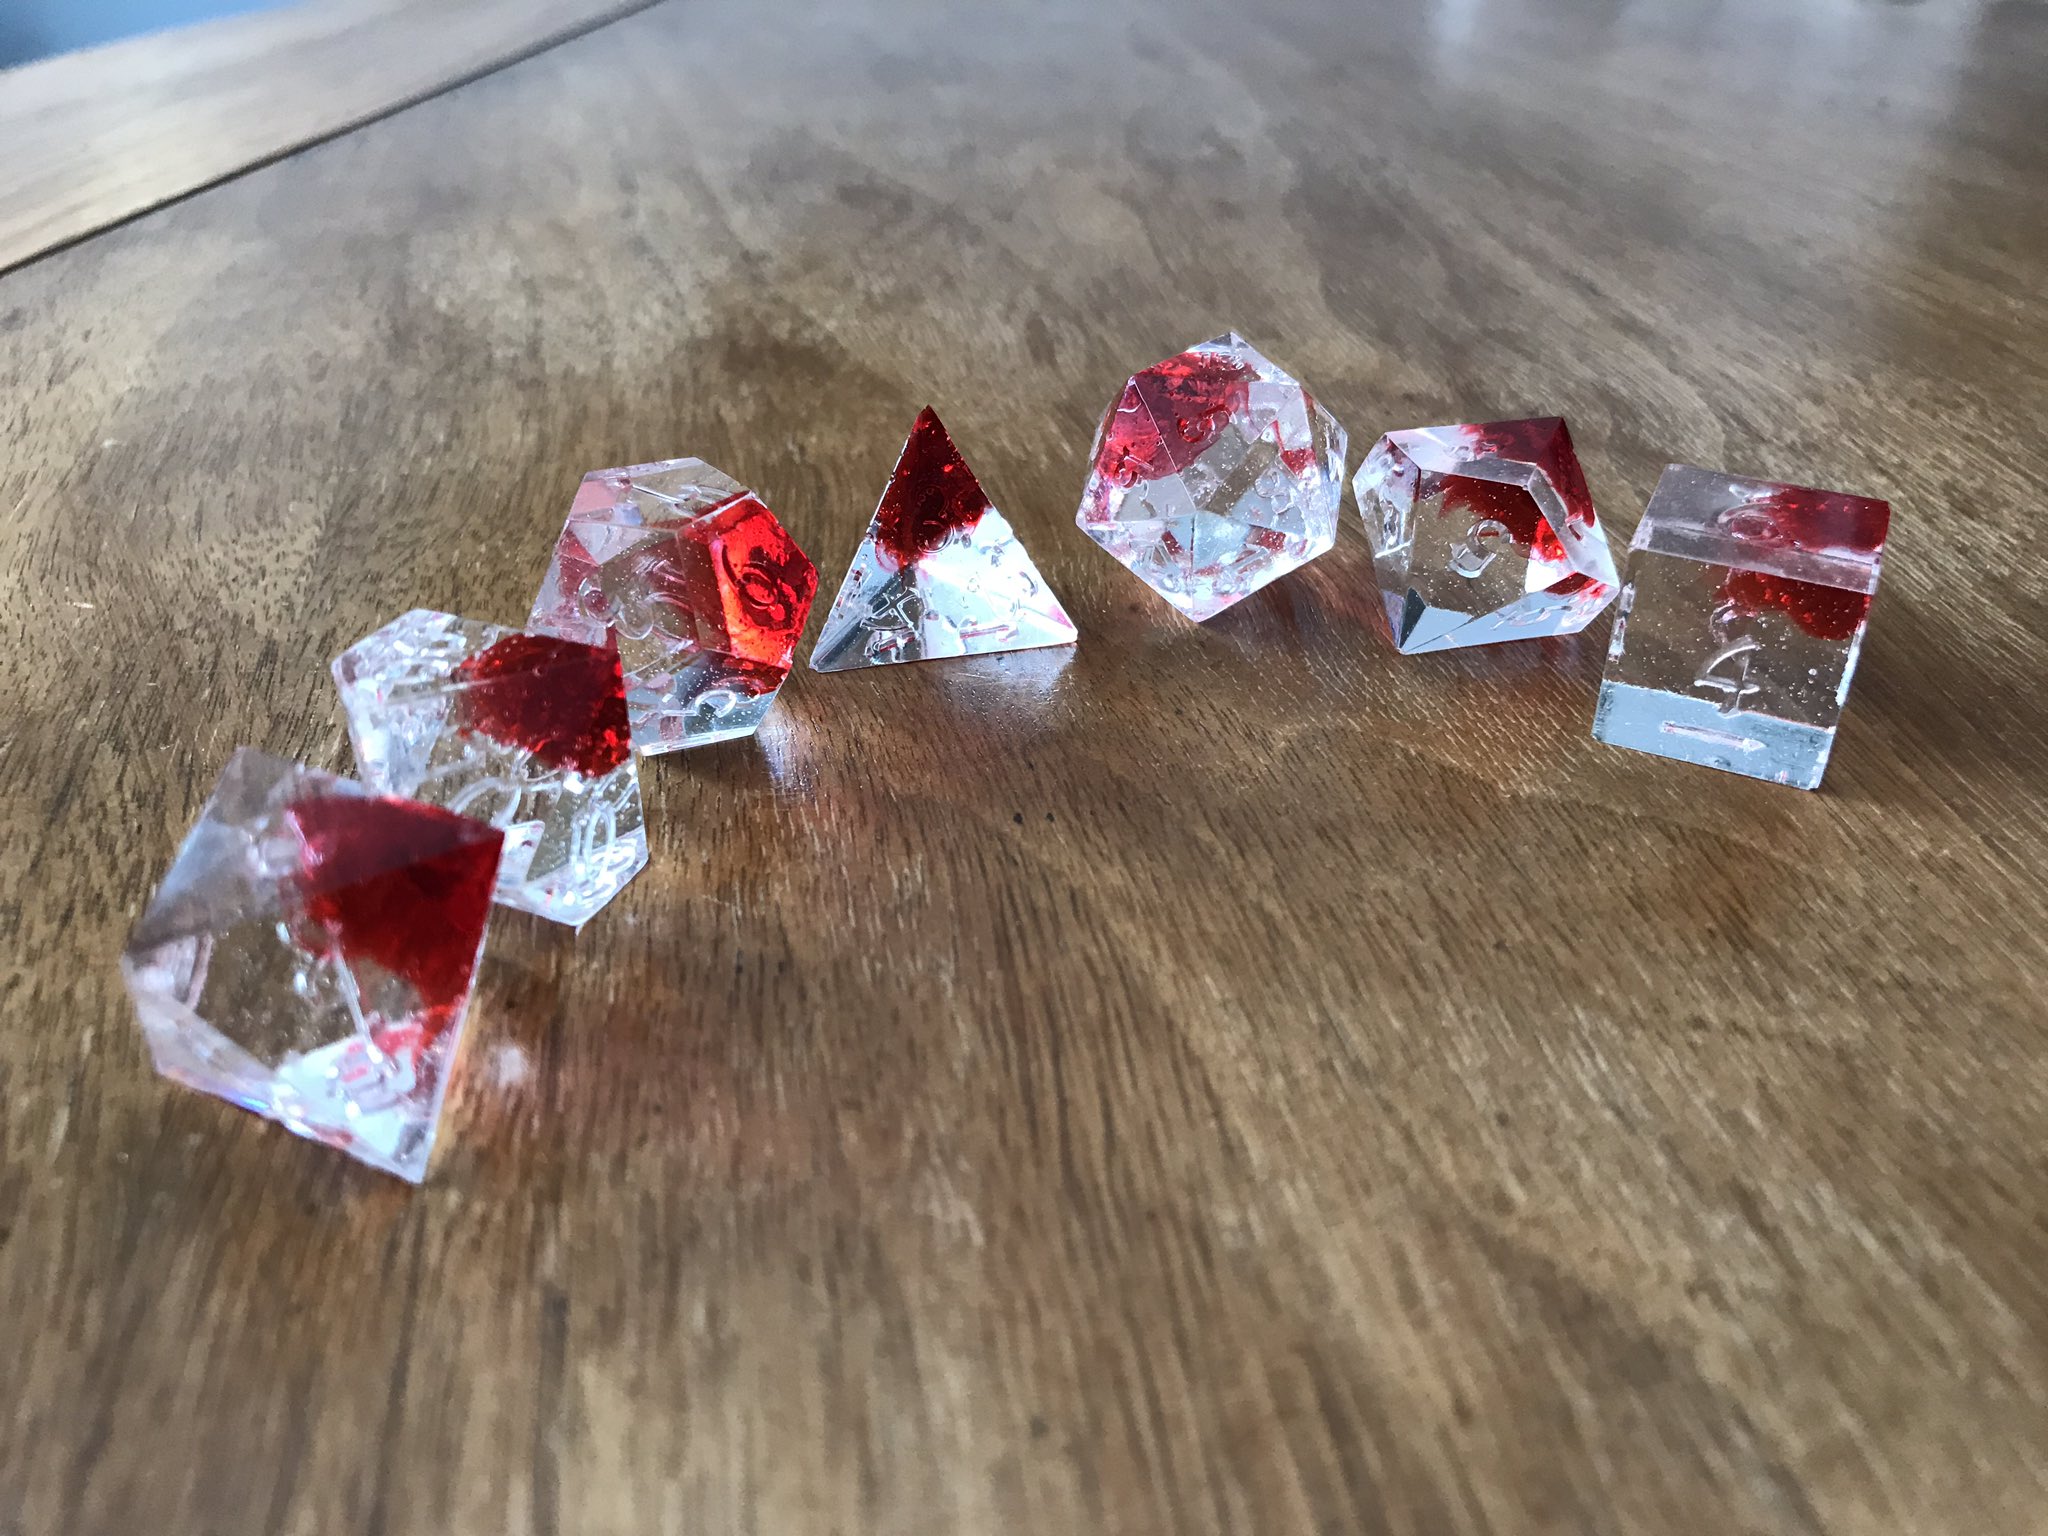
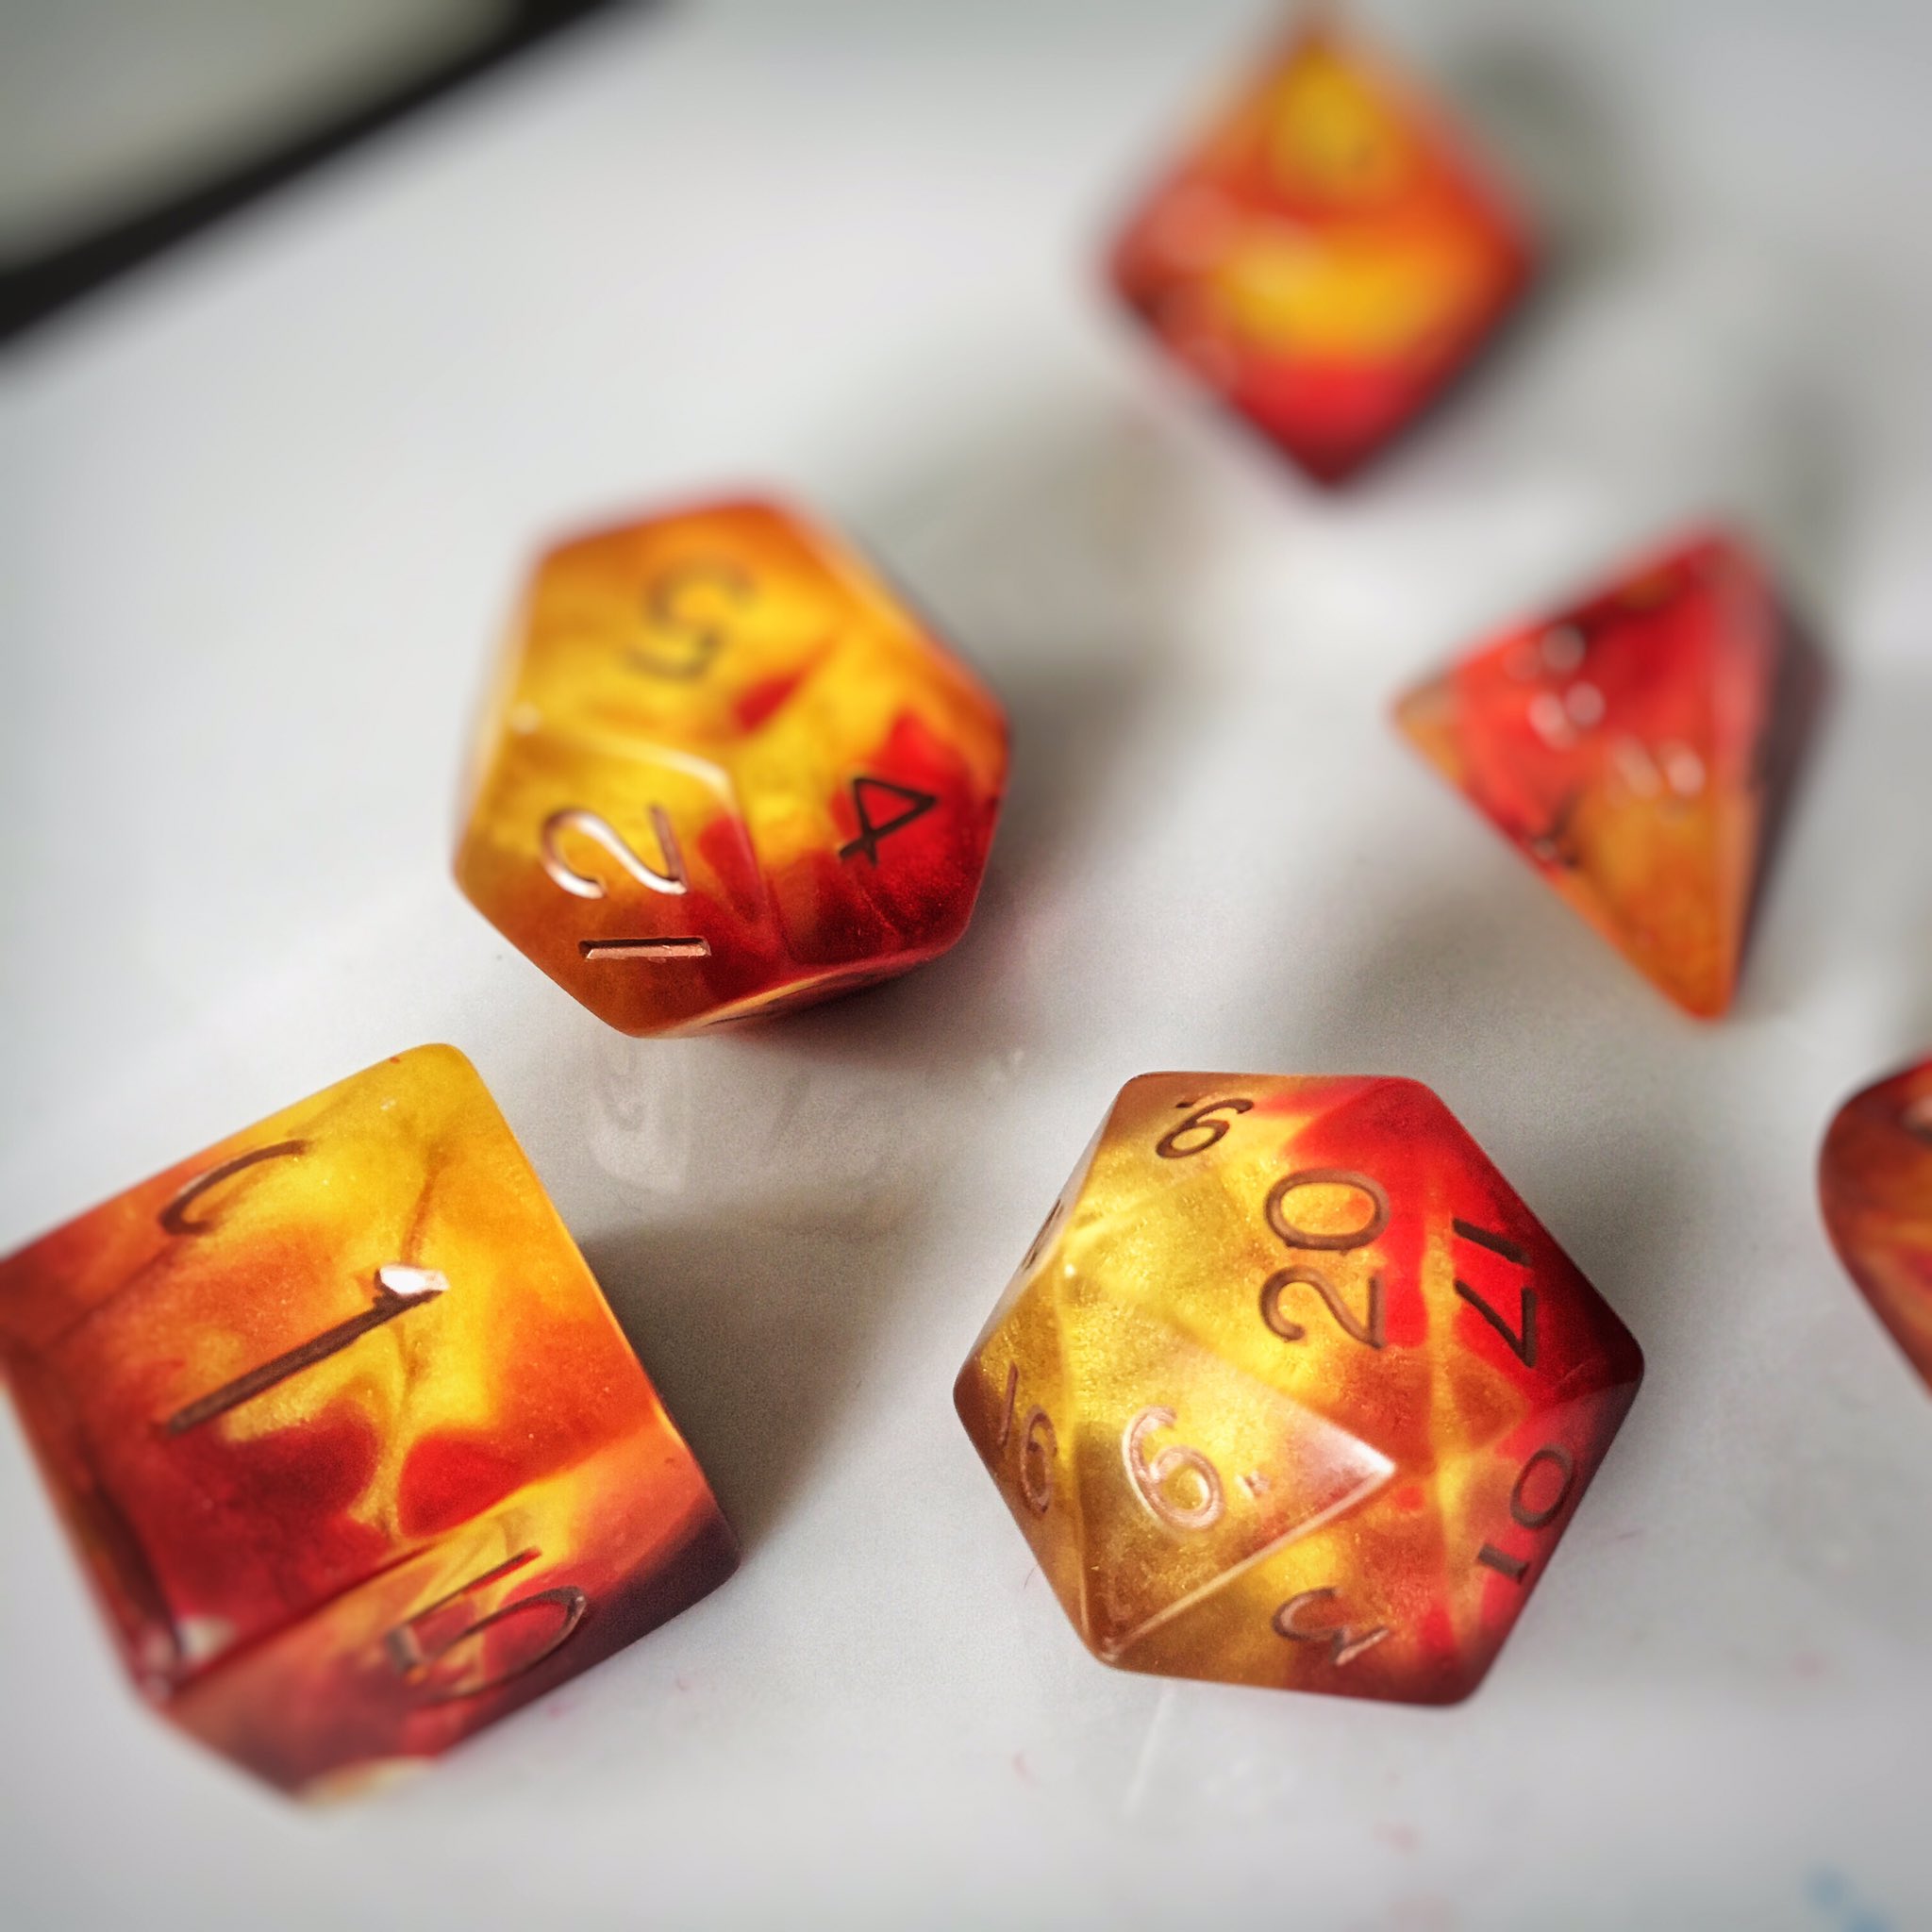

Inclusions
There are all sorts of inclusions ranging from glitter to mica powder (for more opaque/shimmery colors) to food dye (transparent color), to alcohol ink (swirls of color–still working on that) to even bark, top ramen, dried flowers, to M&Ms etc. With the right prep, almost anything (that is small enough) can be made into a dice. It might ruin the weighting of your dice (i.e. gun shells or gears), but it can look awesome anyway.
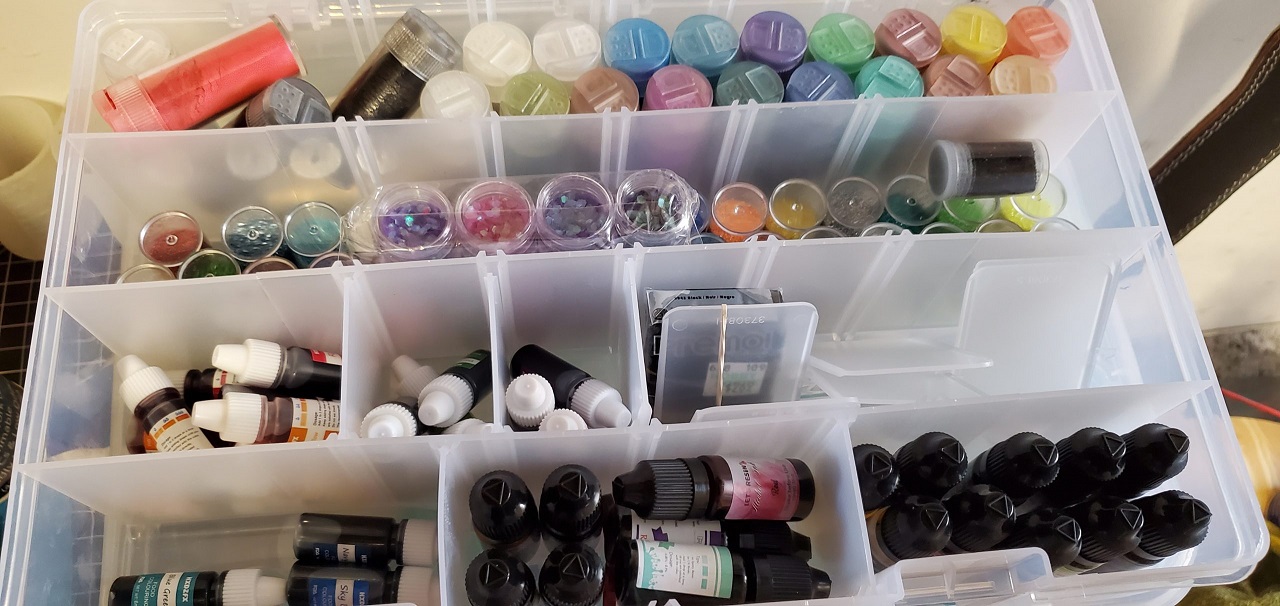
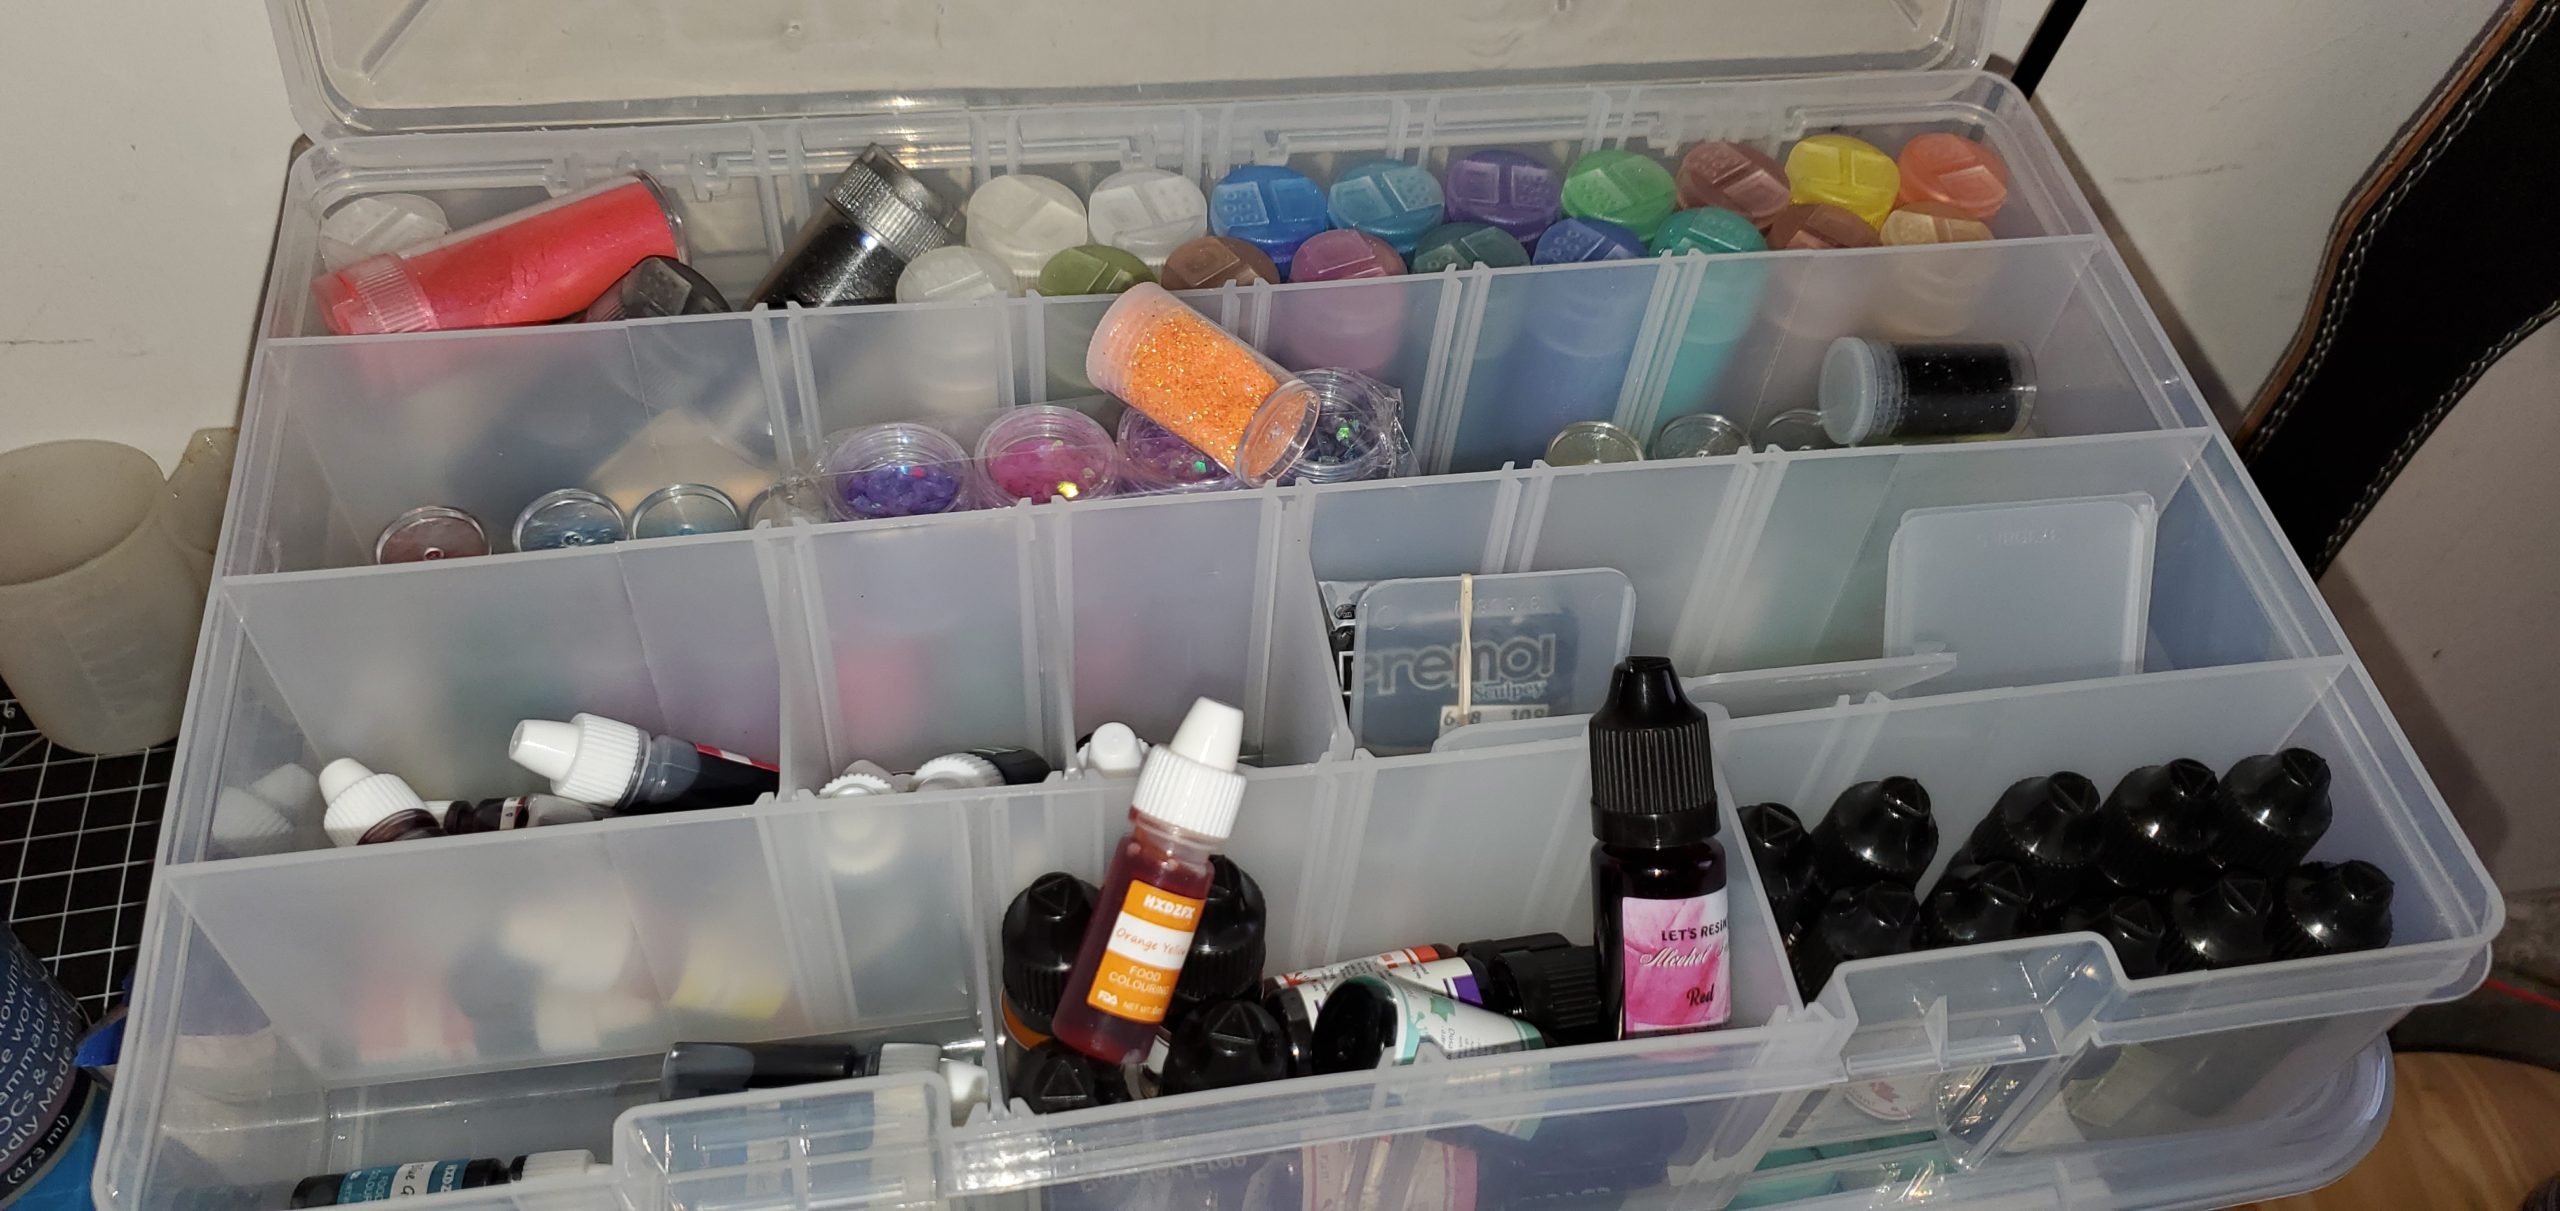
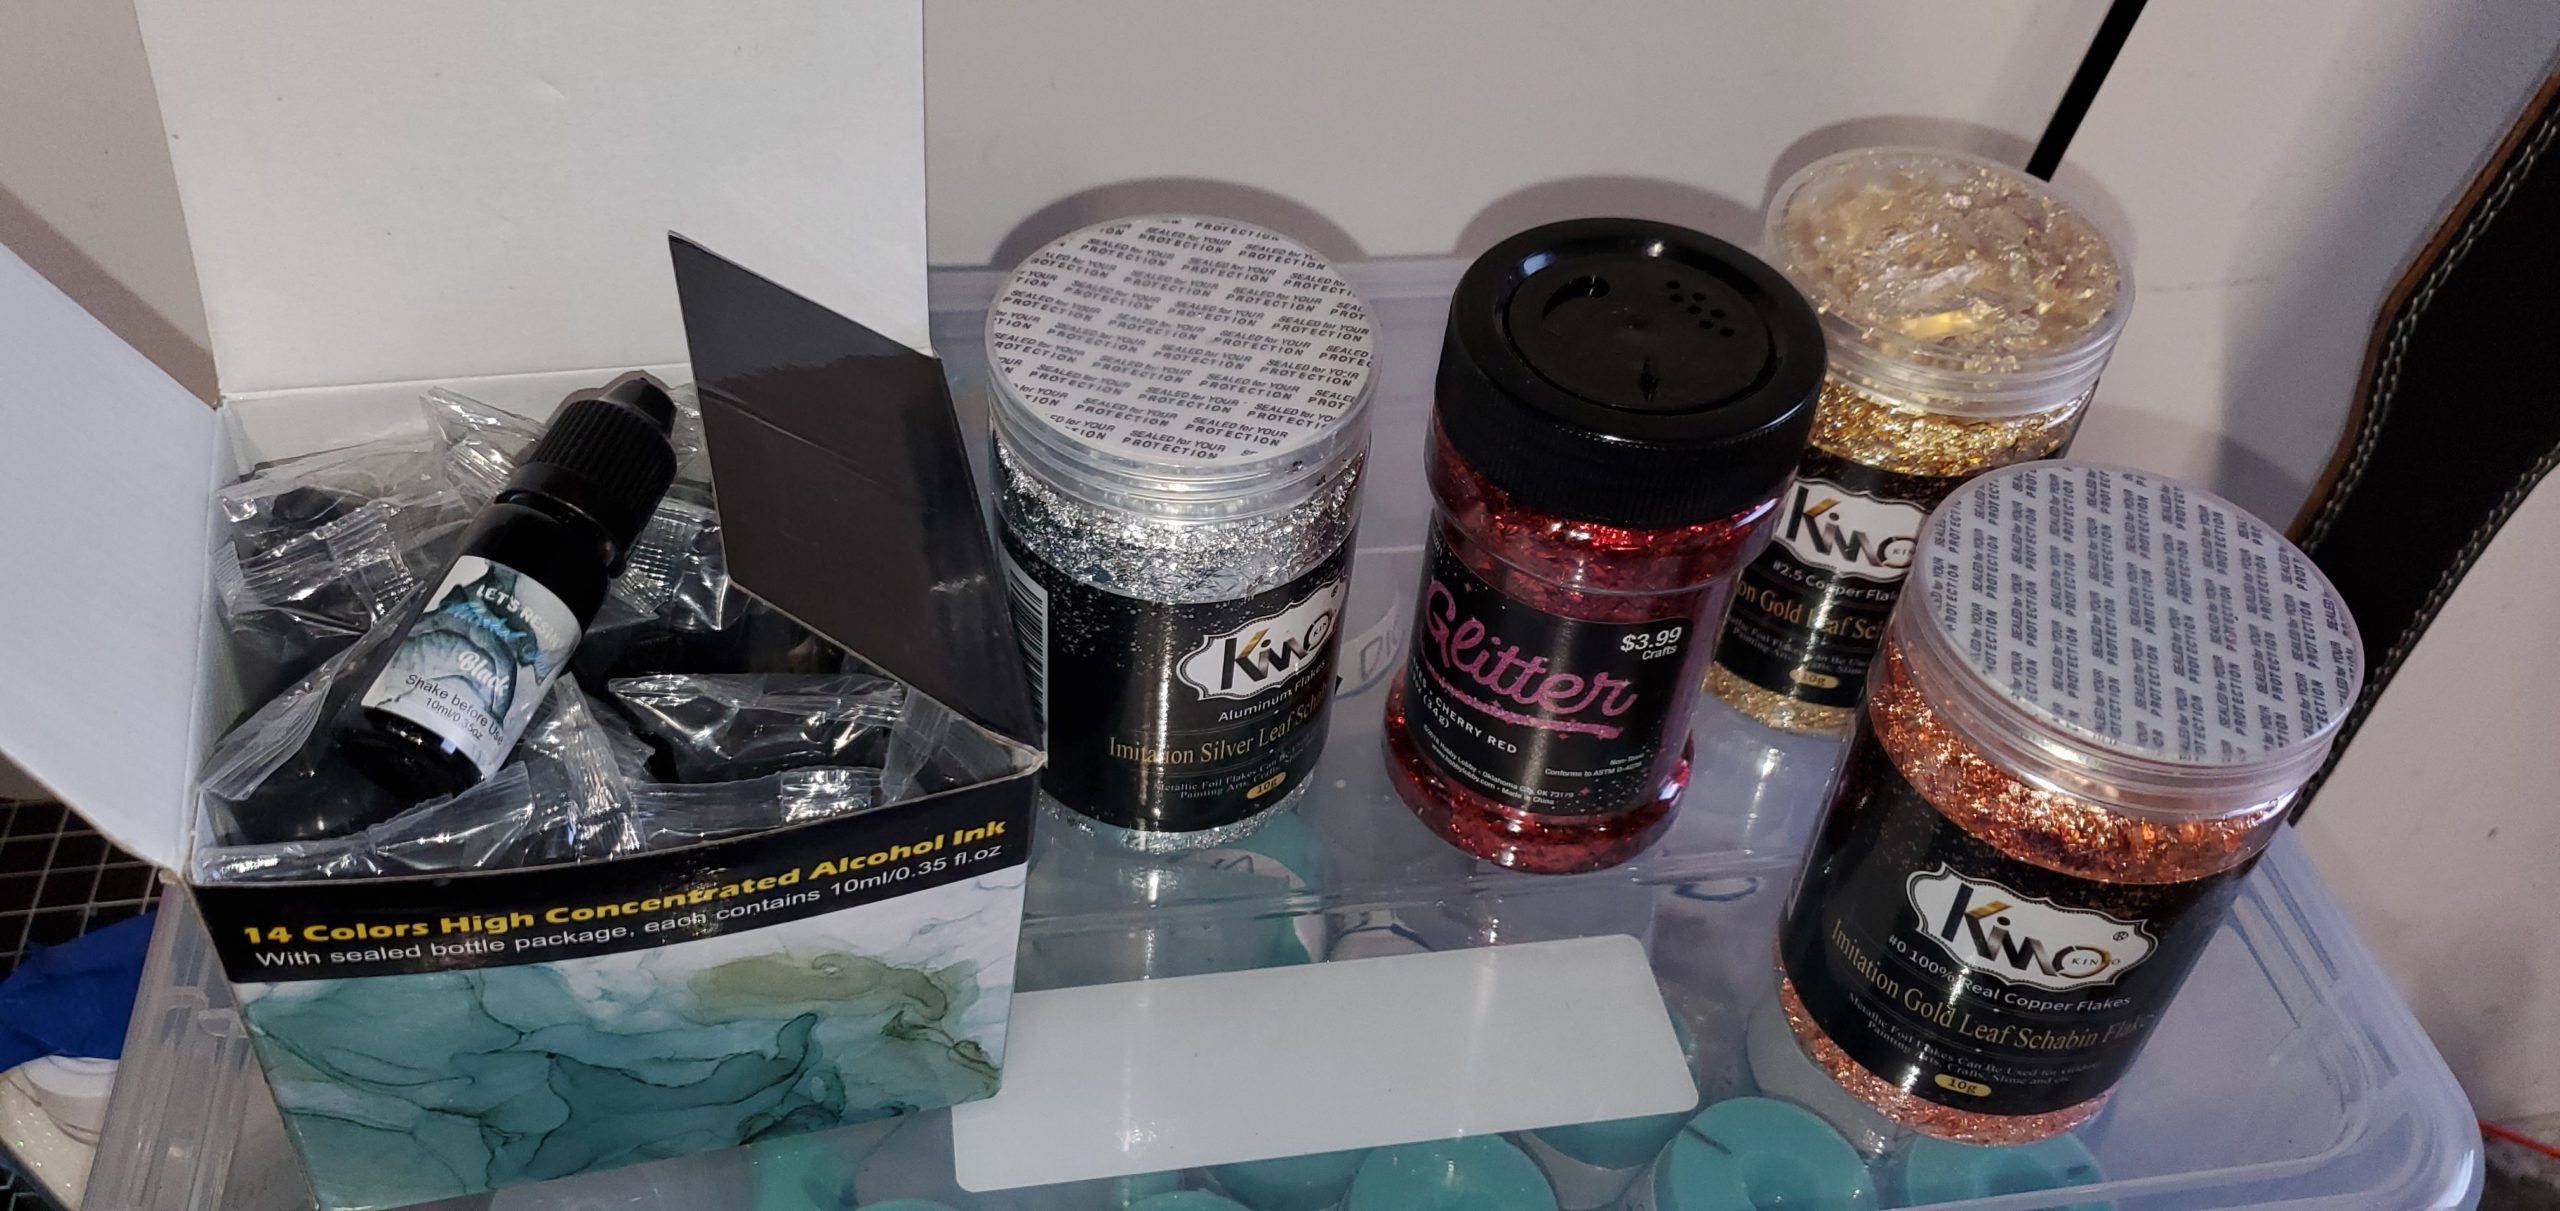
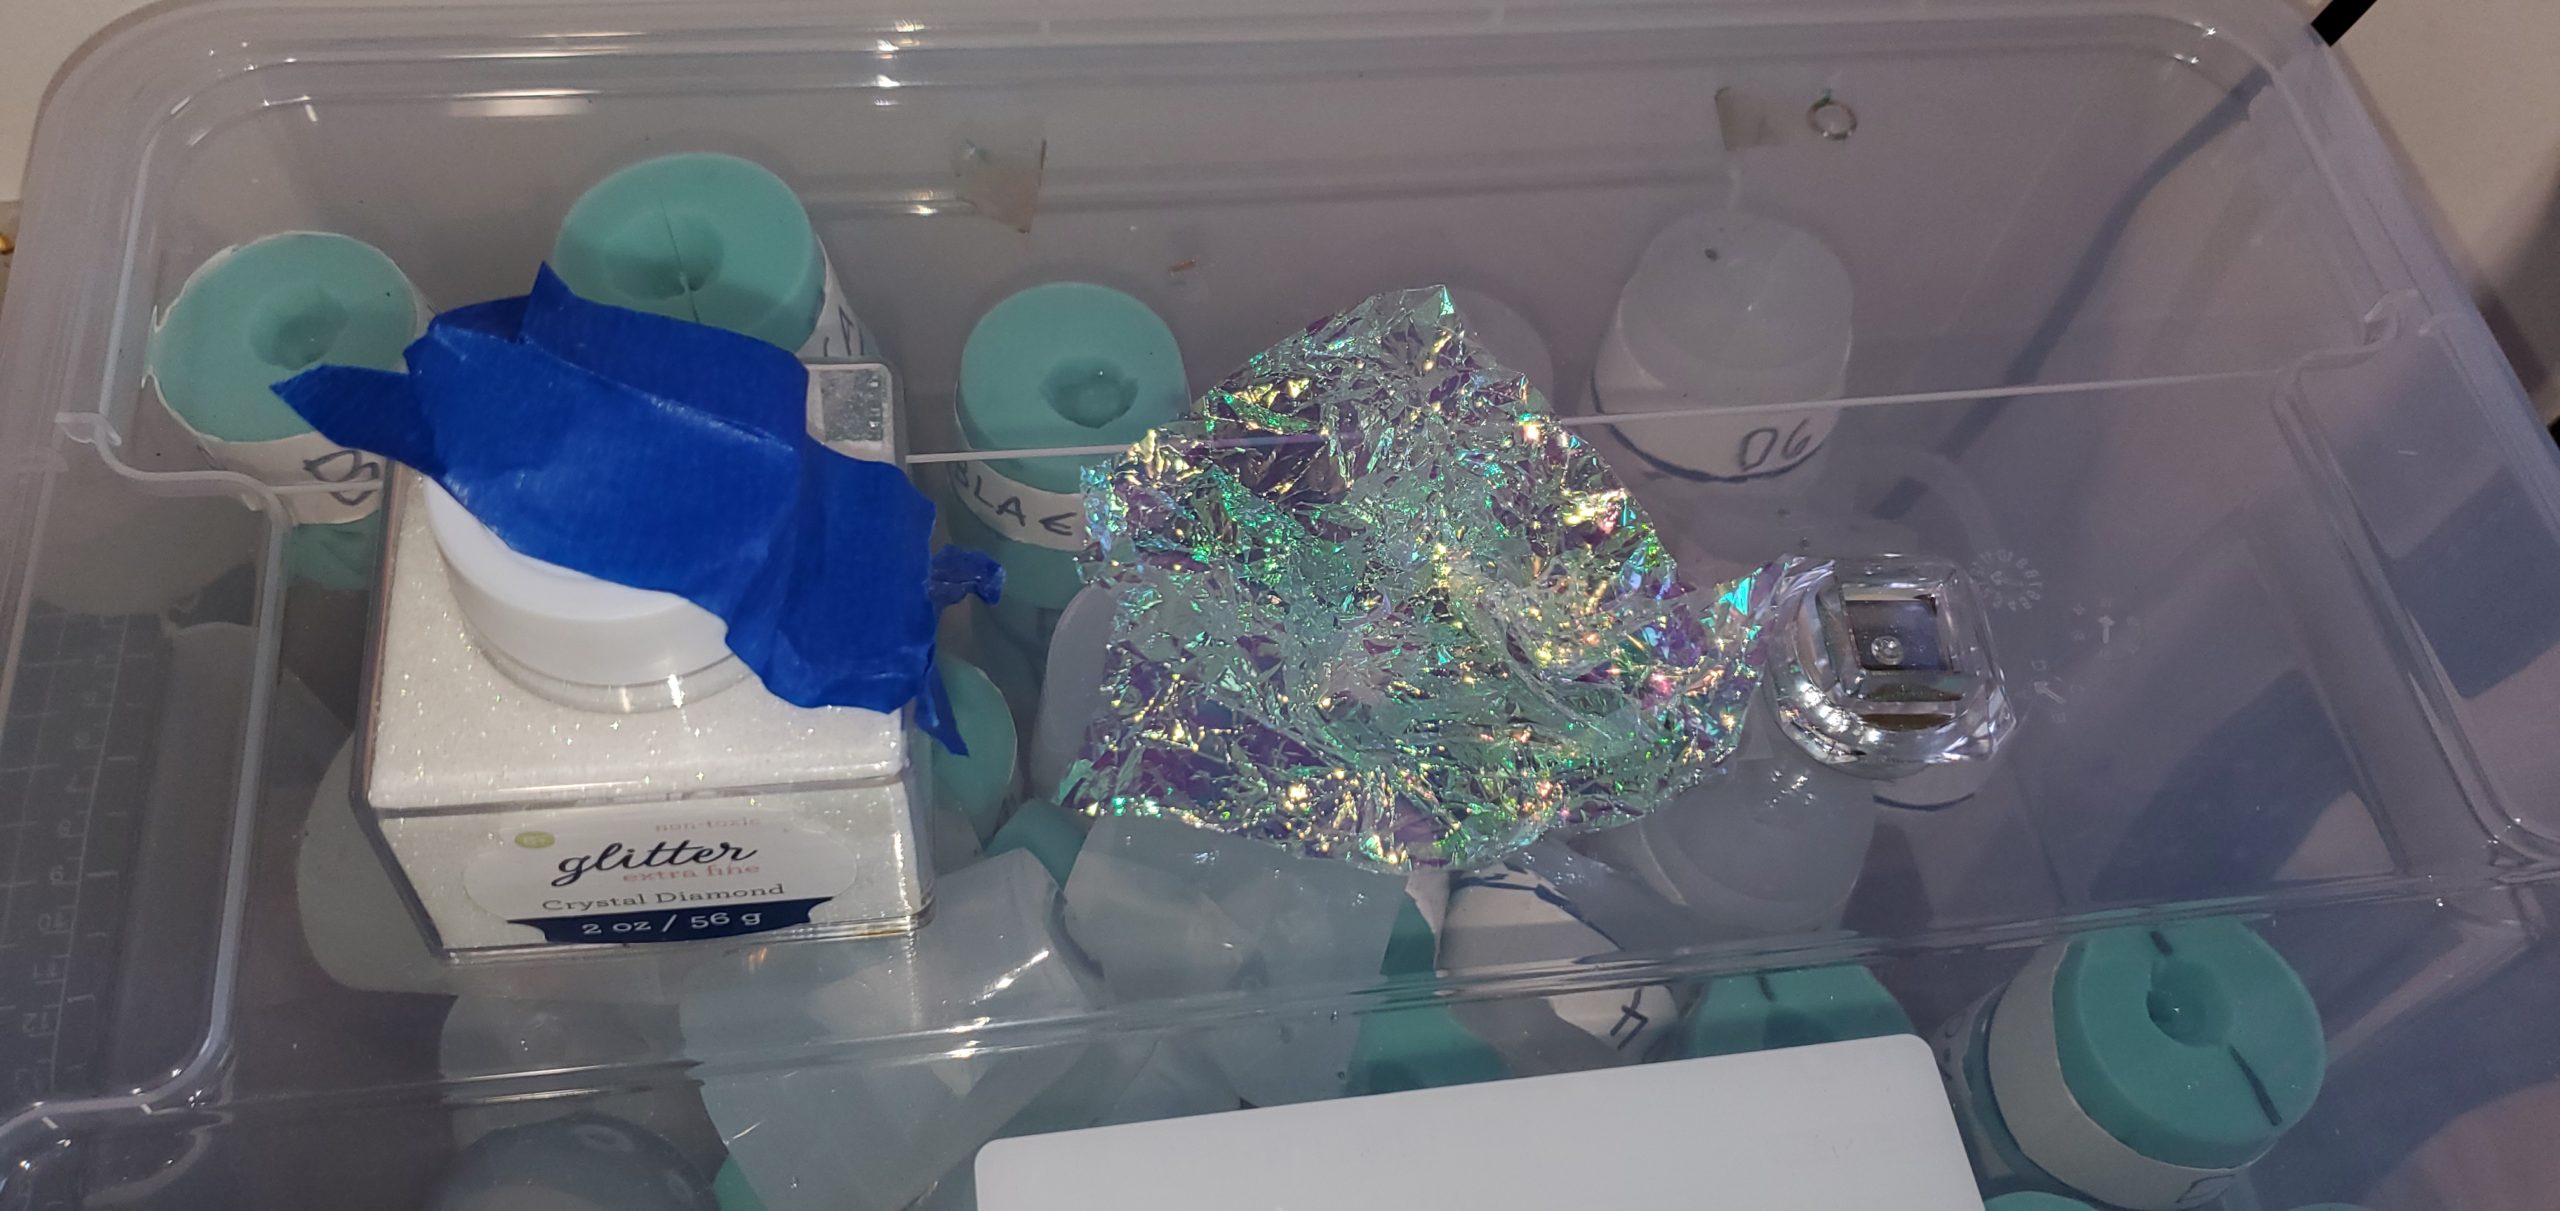
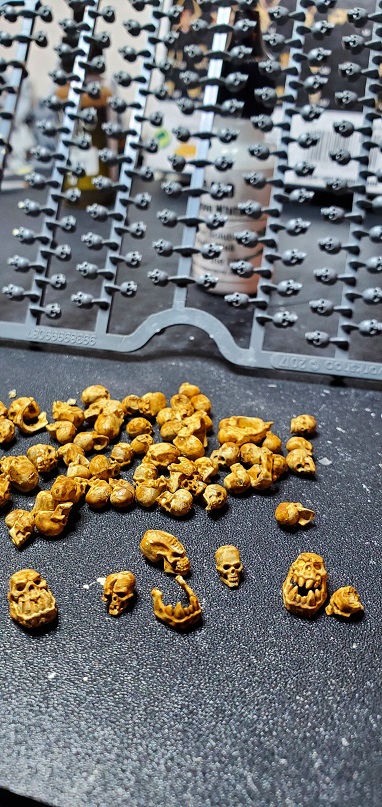
We haven’t gotten that creative with our dice, so we’re still just using mica powder, various types of glitter, food dye, alcohol ink, foil flakes of all colors (i.e. red, gold, copper, silver, blue etc), and mylar wrapping paper (and soon tiny plastic skulls for gelatinous cube dice!). We organize the ink and glitter with a bead organizer from Michaels.
In our organizer, mica powder is at the back, and it’s a very fine powder that gives a shimmery, transparent or opaque color, depending on how much you use while mixing. A little goes a long way. Then there’s the glitter, of which we have very fine and chunky. The food dye are the little bottles, and a type of alcohol ink labeled very inconveniently by food rather than color are in the front. Further down, there’s a diamond glitter I got, hoping it’d be a bit more holographic, some crumpled up mylar, and some actual holographic nail glitter. As of writing this post, I haven’t tried the latter, but plan to shortly.
Supplies
Rybonator goes over supplies you’ll need. Here is what we use:
- Pipettes
- Wooden tongue depressors for mixing (silicone sticks sound nice, but they’re too bendy – the mat was good, though)
- Silicone mats – much like why your dice come out of silicone molds easily, having a silicone mat under your workspace makes clean up easier once the resin hardens – so don’t bother wiping up resin off your mat, just leave it over night and you can pick it off with your fingers.
- Gloves (might be impossible to get during Covid-19 because health workers need them desperately)
- Rubber bands – to hold your molds closed more tightly, if you use the sprue method, while they cure (also so it doesn’t leak out the sides when you’re piping in resin) — this link is for assorted sizes…don’t do that to yourself like we did. Get the same size.
- Resin measuring cups
- Tool kit to snip sprues
- Large Tupperware box to store molds when not in use to avoid dirt
- Mica powder
- Various types of glitter
- food dye (again, very little will do you; 1 drop can be enough to color resin how you want)
- alcohol ink
- foil flakes – I can’t seem to find on Amazon the ones we bought in store, so you might need to venture to a craft store; also look up nail foil
- Later on we got more inclusions from fake flowers and moss packs from JoAnne’s, resin koi fish from Etsy, pretty much anything small enough to fit.
- Any other inclusion you might want
- Tweezers (long ones with points at the end, not slopes)
- Also sanding/polishing paper; more on this in the next post
Mixing Resin
We’ve found that resin is easier to mix if it’s warmed up before mixing, but it’s doable to work with if the air temp is moderate. BUT SEE WARNING BELOW.
So, I don’t currently have any great pictures of us mixing resin because it’s not that exciting. Basically you just pour in the resin and hardener in equal amounts for however much you need (if using 2 part epoxy – UV has a whole different process that you should Google), add any dyes, powder, or glitter you want (except alcohol ink – that goes in last), and mix THOROUGHLY for 4-5 minutes (or whatever your resin says).
NOTE: MIX THOROUGHLY – IF YOU FAIL TO DO THIS, YOUR DICE WILL NOT CURE PROPERLY AND THEY WILL GO INTO THE VASE OF SHAME.
We don’t have a clock in our garage, so we usually use our phones. If you don’t want to worry about getting your phone covered in resin to start a timer, start playing music before you mix, and get through 1.5 songs (assuming it’s not Tool or Metallica).
Here’s a picture of Rybonator mixing in mylar flakes and some dye for reference of what this looks like. Be sure to scrape the sides constantly to ensure all the resin is mixed properly.


DO NOT MIX TOO MUCH AT ONE TIME!!
I’m not much of a chemist, and I learned the hard way that if you mix too much of the resin and hardener at one time, you’ll end up with what is known as a “flash cure”. The resin gets BURNING HOT and cures solidly within 10-30 seconds and takes a long while to cool down.
This reaction is normal, it just usually happens slowly. You see, resin cures with an exothermic reaction. This means that heat is produced by the resin itself. Thus, the greater volume of resin there is, the more heat and the faster it cures. So, if you feel your resin is a bit warm when you’re mixing, you’re probably fine and just need to pour soon, but if it’s HOT, get it somewhere safe. As I learned on the internet after-the-fact: It’s one of the basics of casting with resin, so not being aware of this is surprising and can potentially be dangerous.
When this happened to me, I was mixing 1.5 batches worth of resin at once. I ended up melting my mixing cup, and I had to leave it (and monitor it to ensure it didn’t catch fire) on my deck because it was too hot to handle for at least an hour.

Pour the Resin into the Molds
Assuming your mixing went well, move on to the next step!
We follow Rybonator’s suggestion of using more than 1 pipette in the resin cup so that one or more can suck up resin while you’re pouring with another pipette. Because I err on the side of mixing for longer to avoid squishy dice, I usually have less time to get the resin into the molds before it gets too stiff, so I use 3 pipettes if I’m working by myself, and 2 if I have a helper to depress the other pipette. Near the end of the pour/cup, less resin is sucked up in each pipette because the resin is thicker, so you really need all 3 of the pipettes to ensure you can fill all your molds before it’s too late.
Working with clear molds helps immensely with identifying bubbles and filling levels.

Also, remember to take pictures and NOTES of what you did, so you can repeat it. I save pictures of what I used after I’m done pouring, then immediately write in a text file what I did. When I take them out of the molds, I add to the text file the results, both good and bad (eventually, I will have a Google doc for ones I actually want to repeat). I then save the text file with the dice set pictures in an individual folder for that set. Here’s an example (you can see I used multiple pipettes because it was getting really dicey–HA–near the end of pouring).

Curing Dice
Once your molds are full, you need to let them sit and cure, likely for 24 hours, depending on the type of resin (with Art ‘N Glow it’s 24 hours–I don’t know anything about UV resin at this point). DO NOT TAKE YOUR DICE OUT TOO SOON – THEY WON’T BE DONE YET. Thinking of curing like baking, without the heat. If you take it out too soon, you’ll get a mess.
We’ve done 1 set of dice without a pressure pot, and honestly didn’t look up the various methods there are of getting bubble free dice (you work in a lot of air into the resin during mixing). This is what they looked like before and after painting:
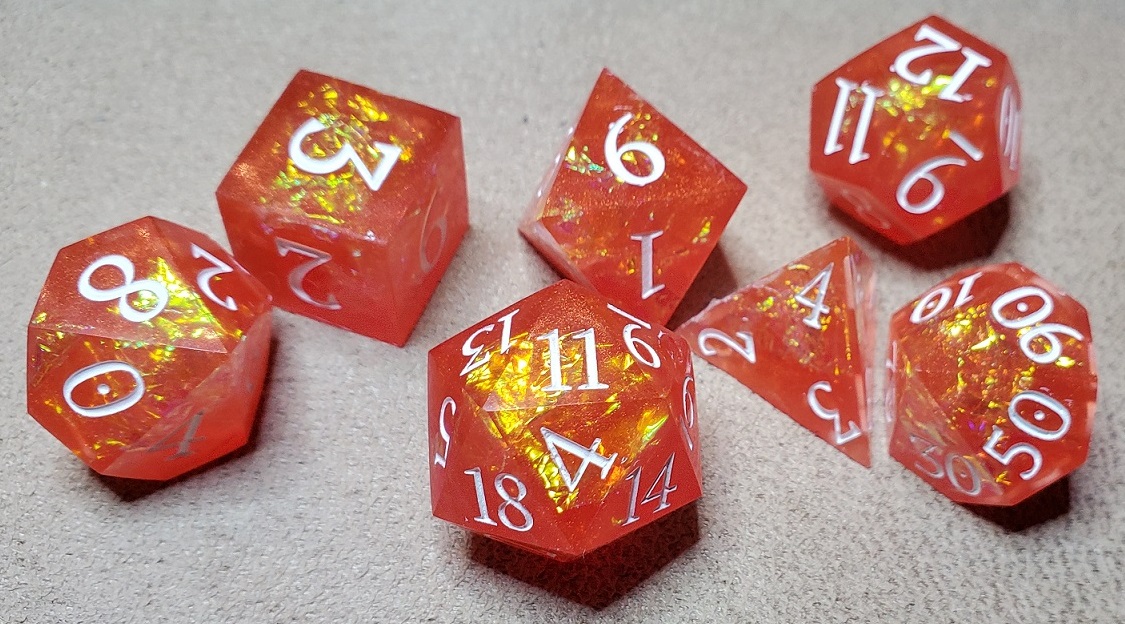
Since that set, we’ve used a modified painter’s pressure pot. It’s turned out crystal clear dice. We use a Harbor Freight air compressor with it (and the other supplies suggested by Rybonator, such as tubing etc). We usually set it to 30 PSI, and if we set over night, it might lose 2-5 PSI over the course of 24 hours, so check yours in case it needs more pressure.

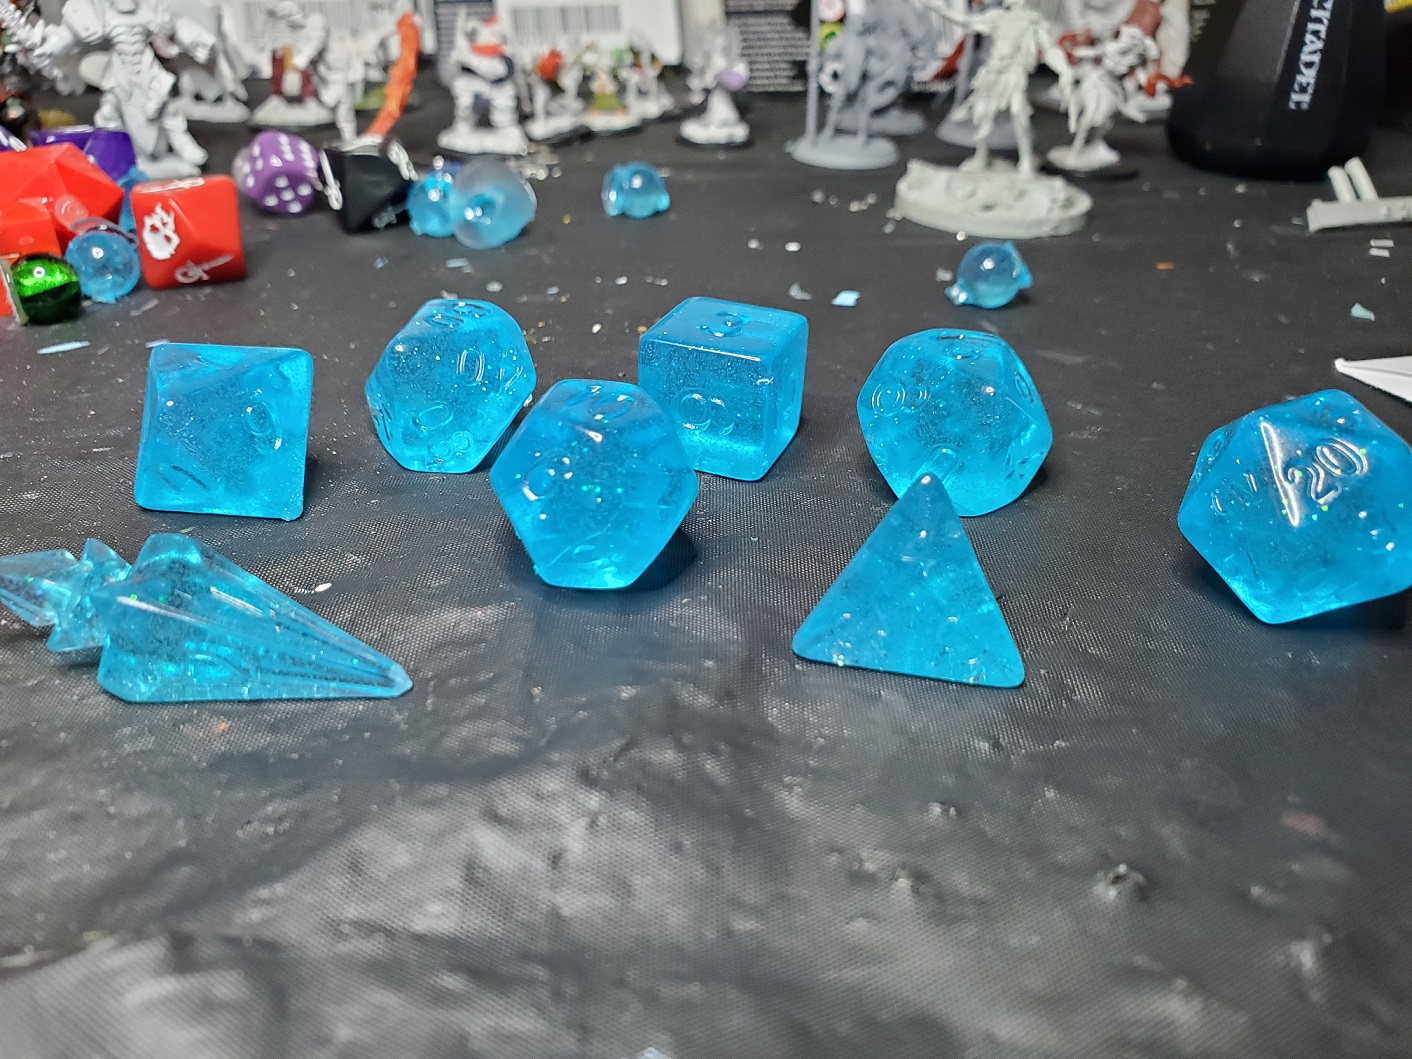
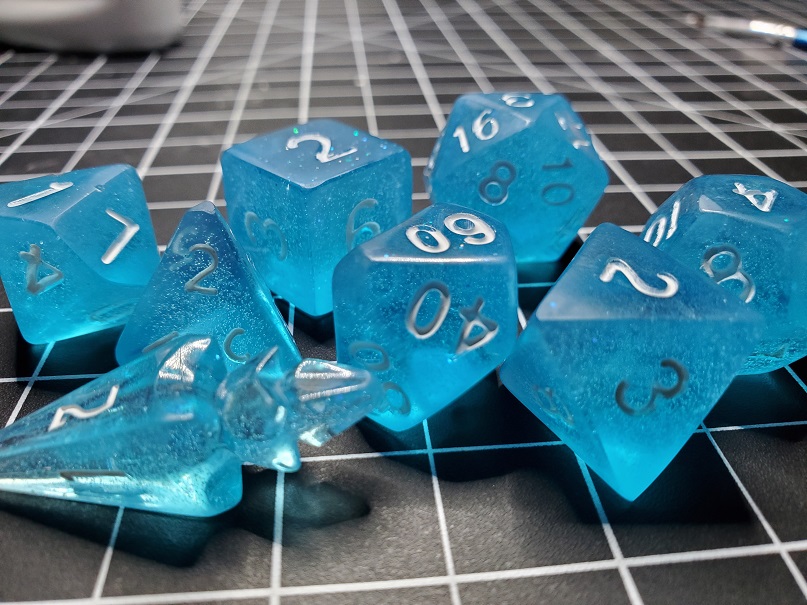
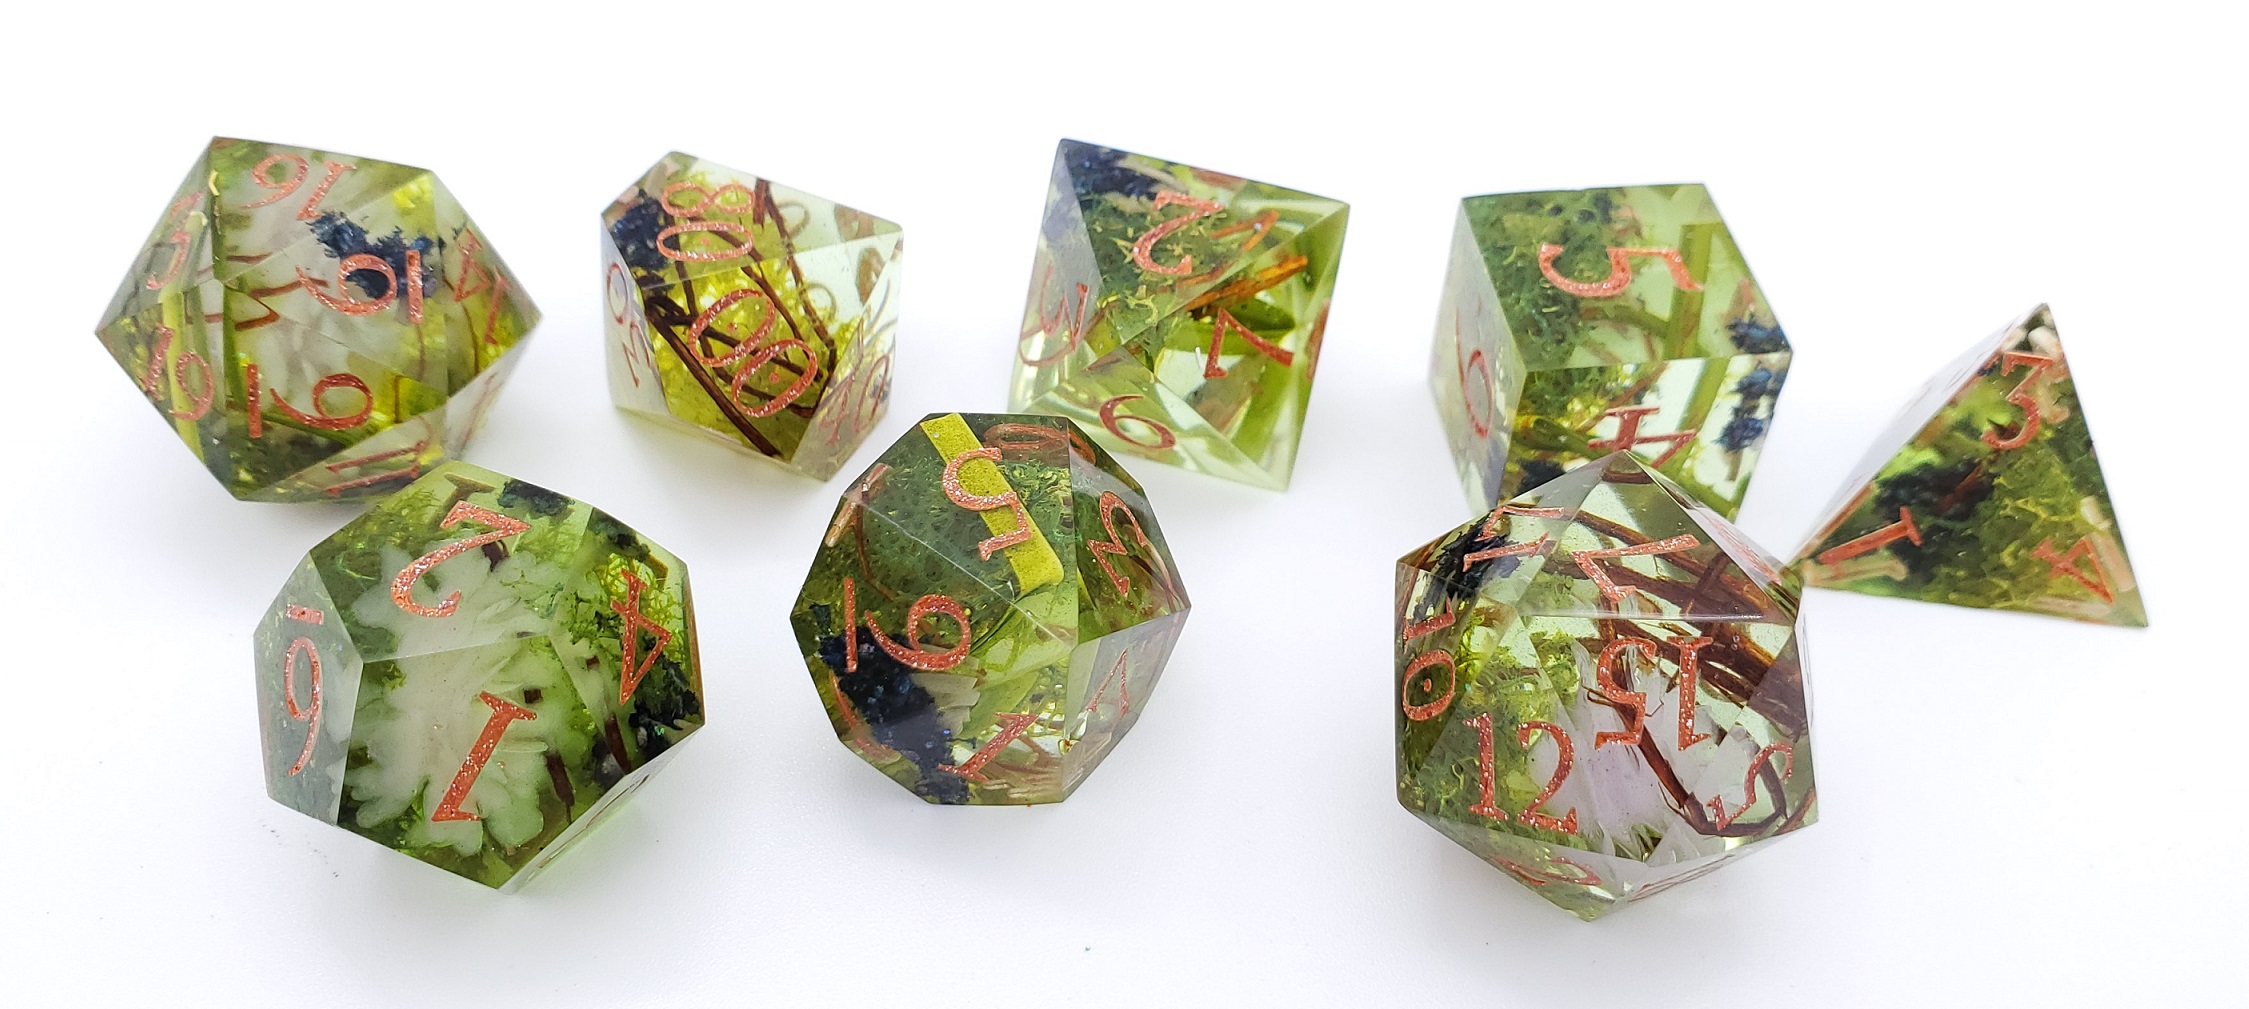
Here are some dice pulls we’ve had from the pressure pot:
Temperature for Curing
I realized belatedly that because I live in a very temperate area (San Diego), we don’t have “weather” that would likely affect our curing overmuch. If you live in a place that gets insanely hot or ridiculously cold, there are other factors to consider – check out this link.
Tips and Tricks
Here are some tips and tricks we’ve learned along the way:
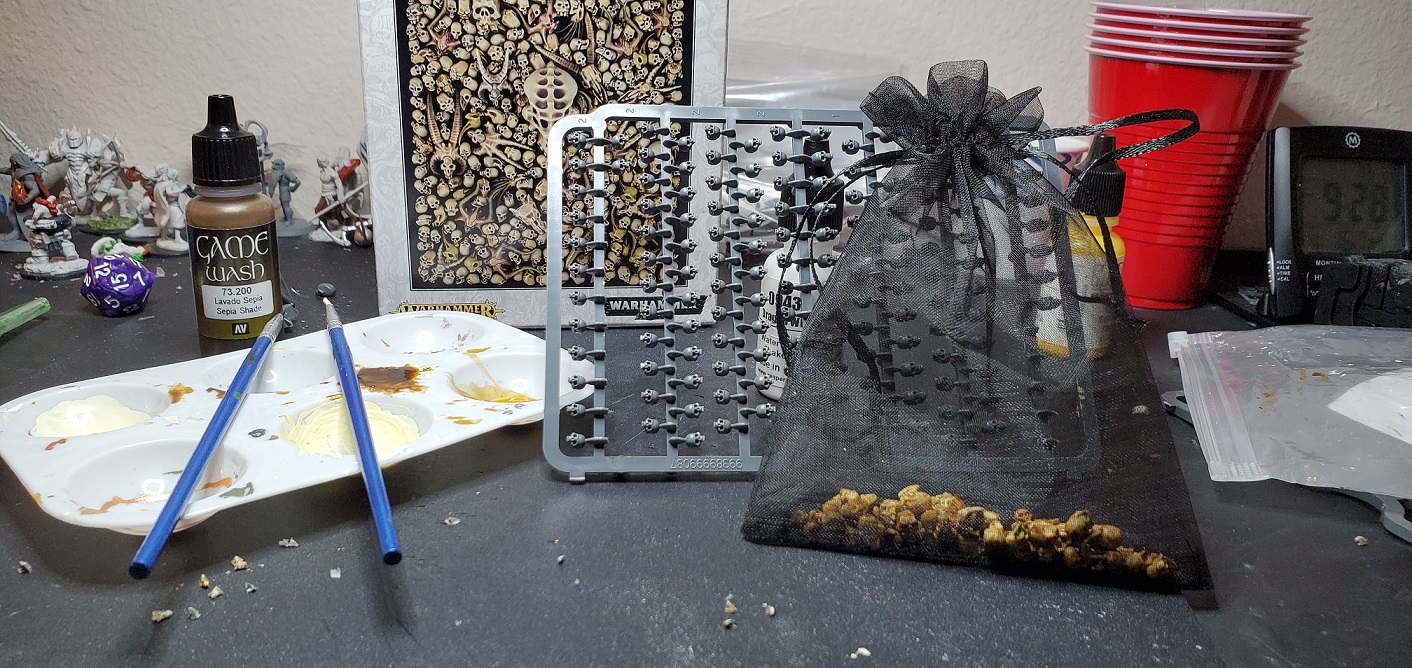
- When using mylar or paper-like inclusions, (1) fill up part of the mold to 1/4-1/2; (2) scrunch up the mylar and dunk it the resin with your tweezers so it fills up with resin, then place in the partially filled mold and fill in resin around the rest of it. This avoids air bubbles and a huge mess trying to work around wrapping paper in a cramped space.
- Remember: the dice will continue to harden after you remove them from the molds (I recommend snipping the sprues within 24 hours of pulling, and then let sit for another 72 hours to finish hardening before sanding, squeezing too hard or pressing them into something like a table or cutting board with texture, as it may imprint on the dice)
- I haven’t tried real plants, but what I’ve seen on our Facebook dice making group is that you should dry them out first — check before using green plants.
- Label your bottles and caps if you use Art ‘N Glow b/c they look very similar and you DO NOT WANT TO MIX UP YOUR CAPS because you won’t be able to get them off next time.
- When piping into the mold, note that there will be a big air bubble at the end of the squeeze – ideally you want to avoid introducing a big air pocket into your dice, so either pull it out of the mold before ending the squeeze, or at least release the air in the sprue.
- Gently squeeze your molds perpendicular to the side cuts after pouring to prompt air bubbles to the surface, and slowly release to let the resin fill the mold; rinse repeat until you don’t get any more bubbles and you have enough resin in the sprue and resevoir so it can pull from that as it cures (because resin shrinks a little)
- Rubbing alcohol will clean off mica powder (or probably anything else) from your molds; I find that a flat, metal hair clip has worked best to scrape off hardened resin from the outside of the molds (that are usually hardened like tiny rain drops and make the mold feel dirty to the touch)
- If you use a pressure pot, write the time with dry erase marker on the lid so you know when you sealed it (this is the time you can take it out the next day — that way no one inadvertently forgets and takes the dice out too soon). We also mark where the clamps go each time so we always set the lid on the same way.
- If you use a pressure pot, you can keep some of the extra resin on your work bench so you know how hard the resin is during the cure period.
- Keep tabs on your pressure pot’s PSI/pressure – ours still loses about 5 PSI over night, so we refill it in the morning, assuming it’s not too early to run the air compressor.
- Reminder: DO NOT TAKE THE DICE OUT EARLIER THAN THE CURE PERIOD JUST BE PATIENT AND WAIT OR ELSE YOU RISK THEM BEING SQUISHY OR STICKY/STINKY
- If you are using chunky glitter (or just lots of glitter), it might sink during the cure (meaning it only shows up on 1/2 of the dice). If you find a method that works for flipping over your sprue molds during curing, feel free to let me know how it goes on Twitter @hanleybrady because we’re still working on that.
- I don’t recommend using nail polish as a colorant in dice because (1) it didn’t color the resin for sh*t when I tried it, and it completely messed up the chemical reaction because I likely put in too much when I realized the colors weren’t showing up. Here’s what my “mermaid nail polish” dice looked like (what little color you see is from a partial drop of blue food dye and some black glitter):

They were so soft I could squish them into this formation. I call them “Flotsam,” and they’re in the Vase of Shame. They hardened up about a week later, but they were just gross all around.
- Read up on using alcohol dye; too much can ruin your resin’s chemical composition, and too much floating at the top can make the top squishy. There are methods to using alcohol ink, we’re just not good enough at it to be making suggestions. Here are 2 sets we’ve tried from our old molds (granted, it was the same batch/pour):

Note that, supposedly, white ink is heavier than any other color, so most dice making videos will have you drop in your color, then cover it with white ink to ensure it sinks. Swirling comes later, I think. Again, still working on that, but we wanted to move into splatters and mylar before getting back into alcohol ink.
Next: Part 3: Finishing Your Dice
Prior Post: Making Dice Part 1: Sprue Molds
Prior Post: Making Dice: Cap Molds
lauren-hanley-brady-la-mesa-attorney lauren-hanley-brady-san-diego-attorney lauren-hanley-brady hanley-brady